
UnyBase guide
Everything your apps depend on, in one place — here's how to use it.
UnyBase keeps the keys, tokens and domains behind your website and apps in one safe place, checks that they still work, and warns you before anything expires. This guide walks through every page with real screens. Numbers on each screenshot match the notes beside it — hover a note to light up its spot.
★Your first ten minutes
Four things that make UnyBase useful straight away. Each one takes a couple of minutes.
1Getting your account
Signing up takes four short steps. You'll get an email at each point where you need to do something, so you can always pick up where you left off.
Create your account
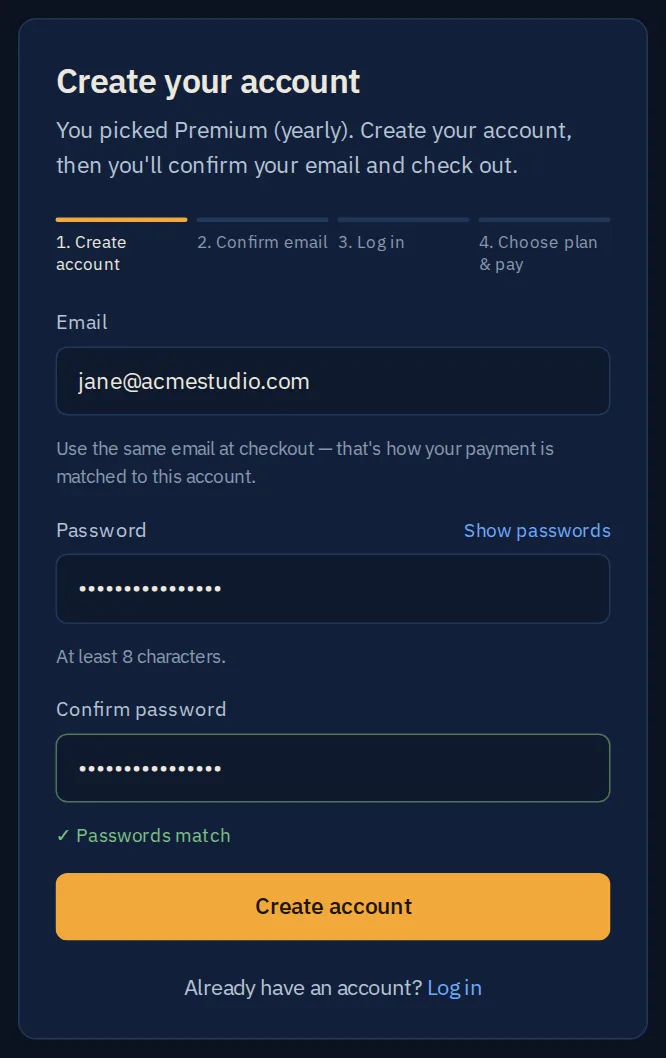
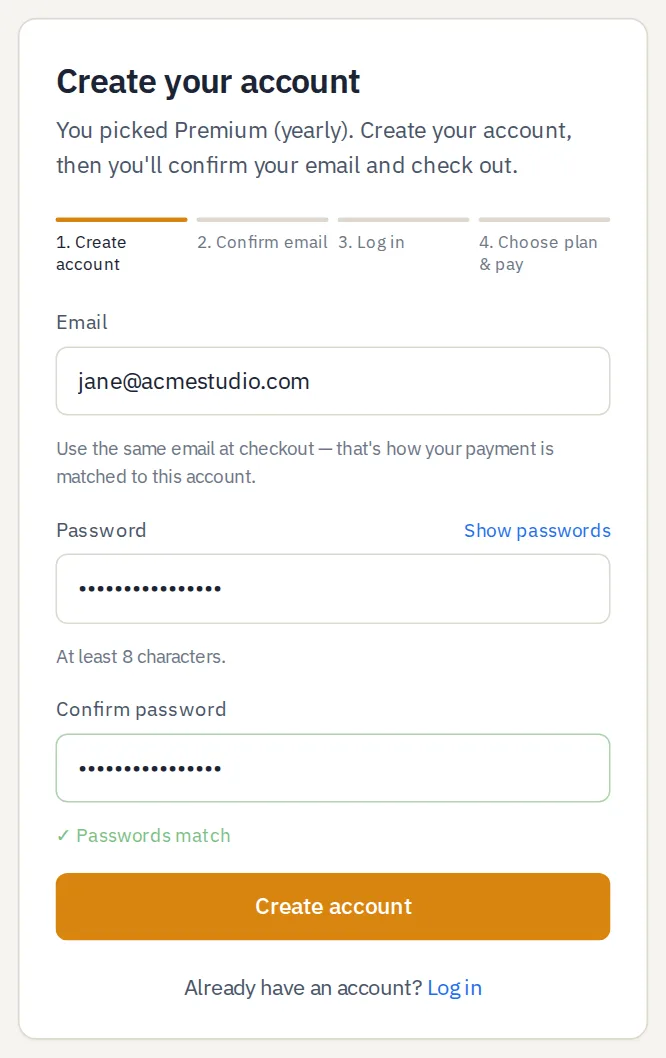
Tap the screenshot to open it full size.
- Progress. Shows which of the four steps you're on.
- Email. Use the address you'll pay with — that's how your payment is matched to your account.
- Show passwords. Reveals both boxes so you can check for typos.
- Confirm password. Type it again. You'll see a green ✓ Passwords match when both agree.
- Create account. Stays greyed out until both passwords match and are at least 8 characters.
Confirm your email
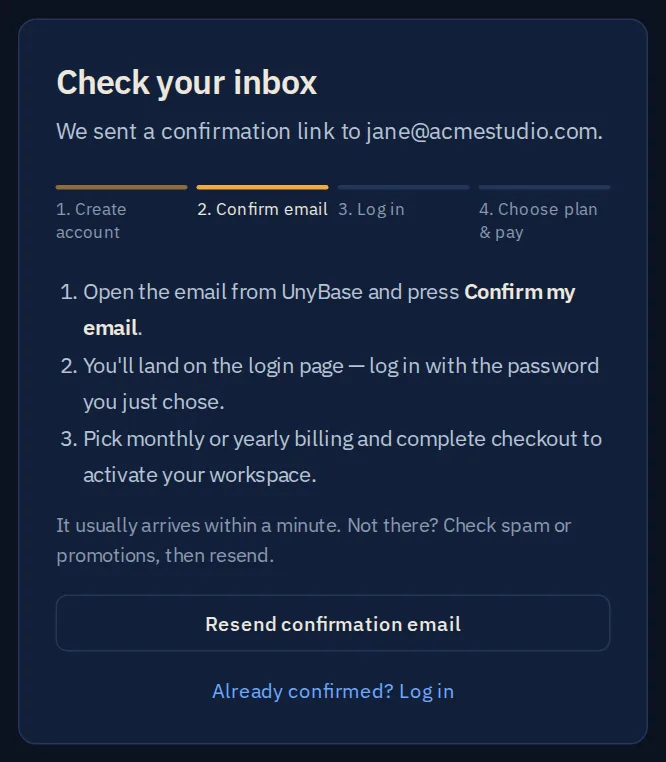
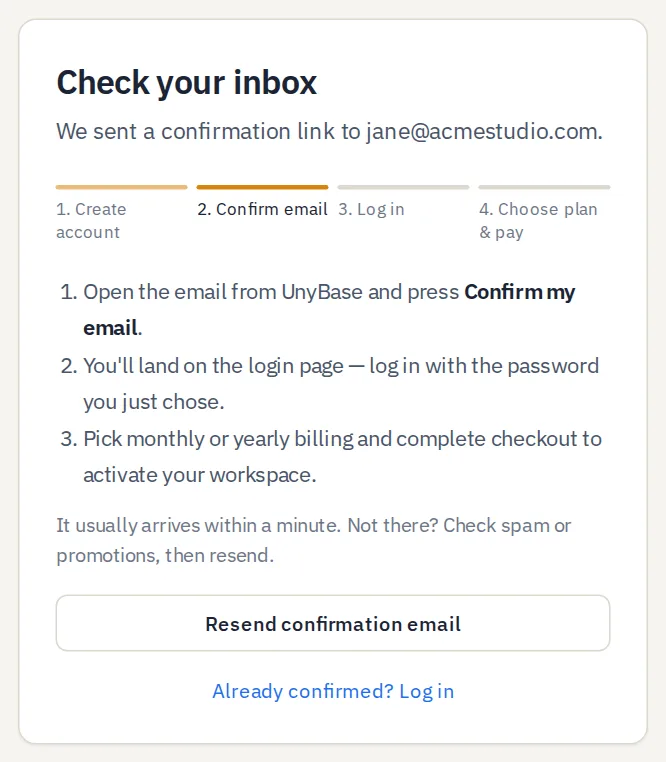
Tap the screenshot to open it full size.
- What to do next. Open the email from UnyBase and press Confirm my email.
- Resend. Nothing arrived after a few minutes? Check spam, then send a fresh link. We also resend it once automatically after a day.
- Already confirmed? Go straight to the login page.
Log in
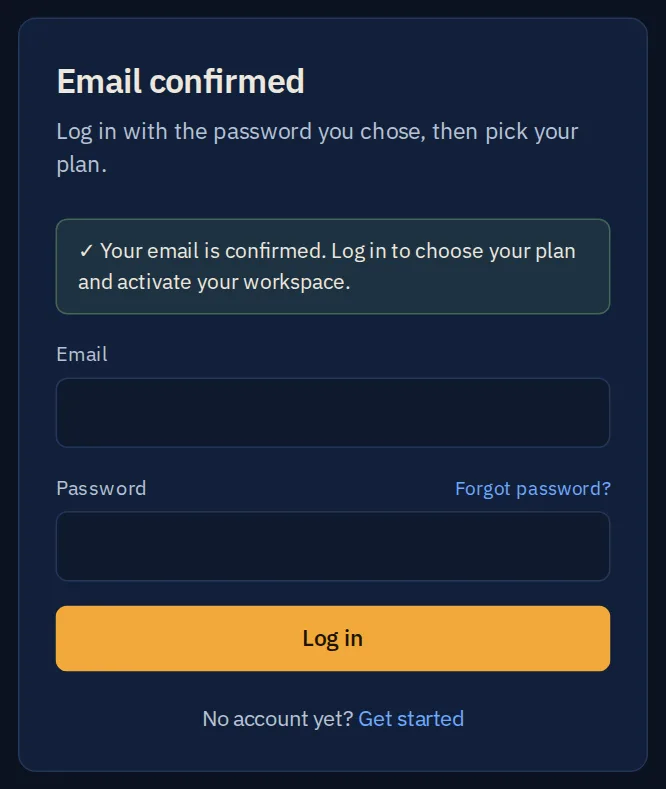
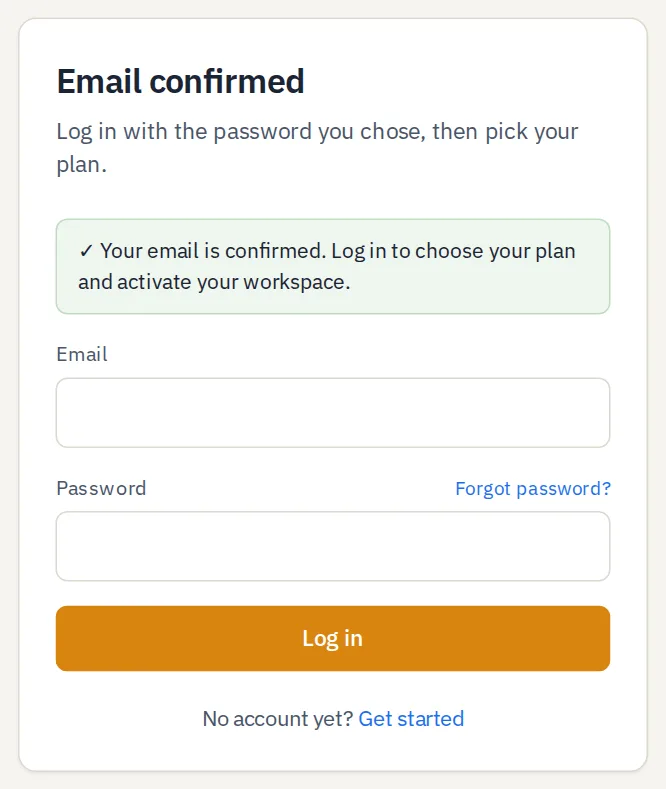
Tap the screenshot to open it full size.
- Confirmation. The link in your email lands here with this green note.
- Forgot password? Emails you a link to set a new one.
- Log in. New accounts go straight on to choosing a plan.
Choose your plan and pay
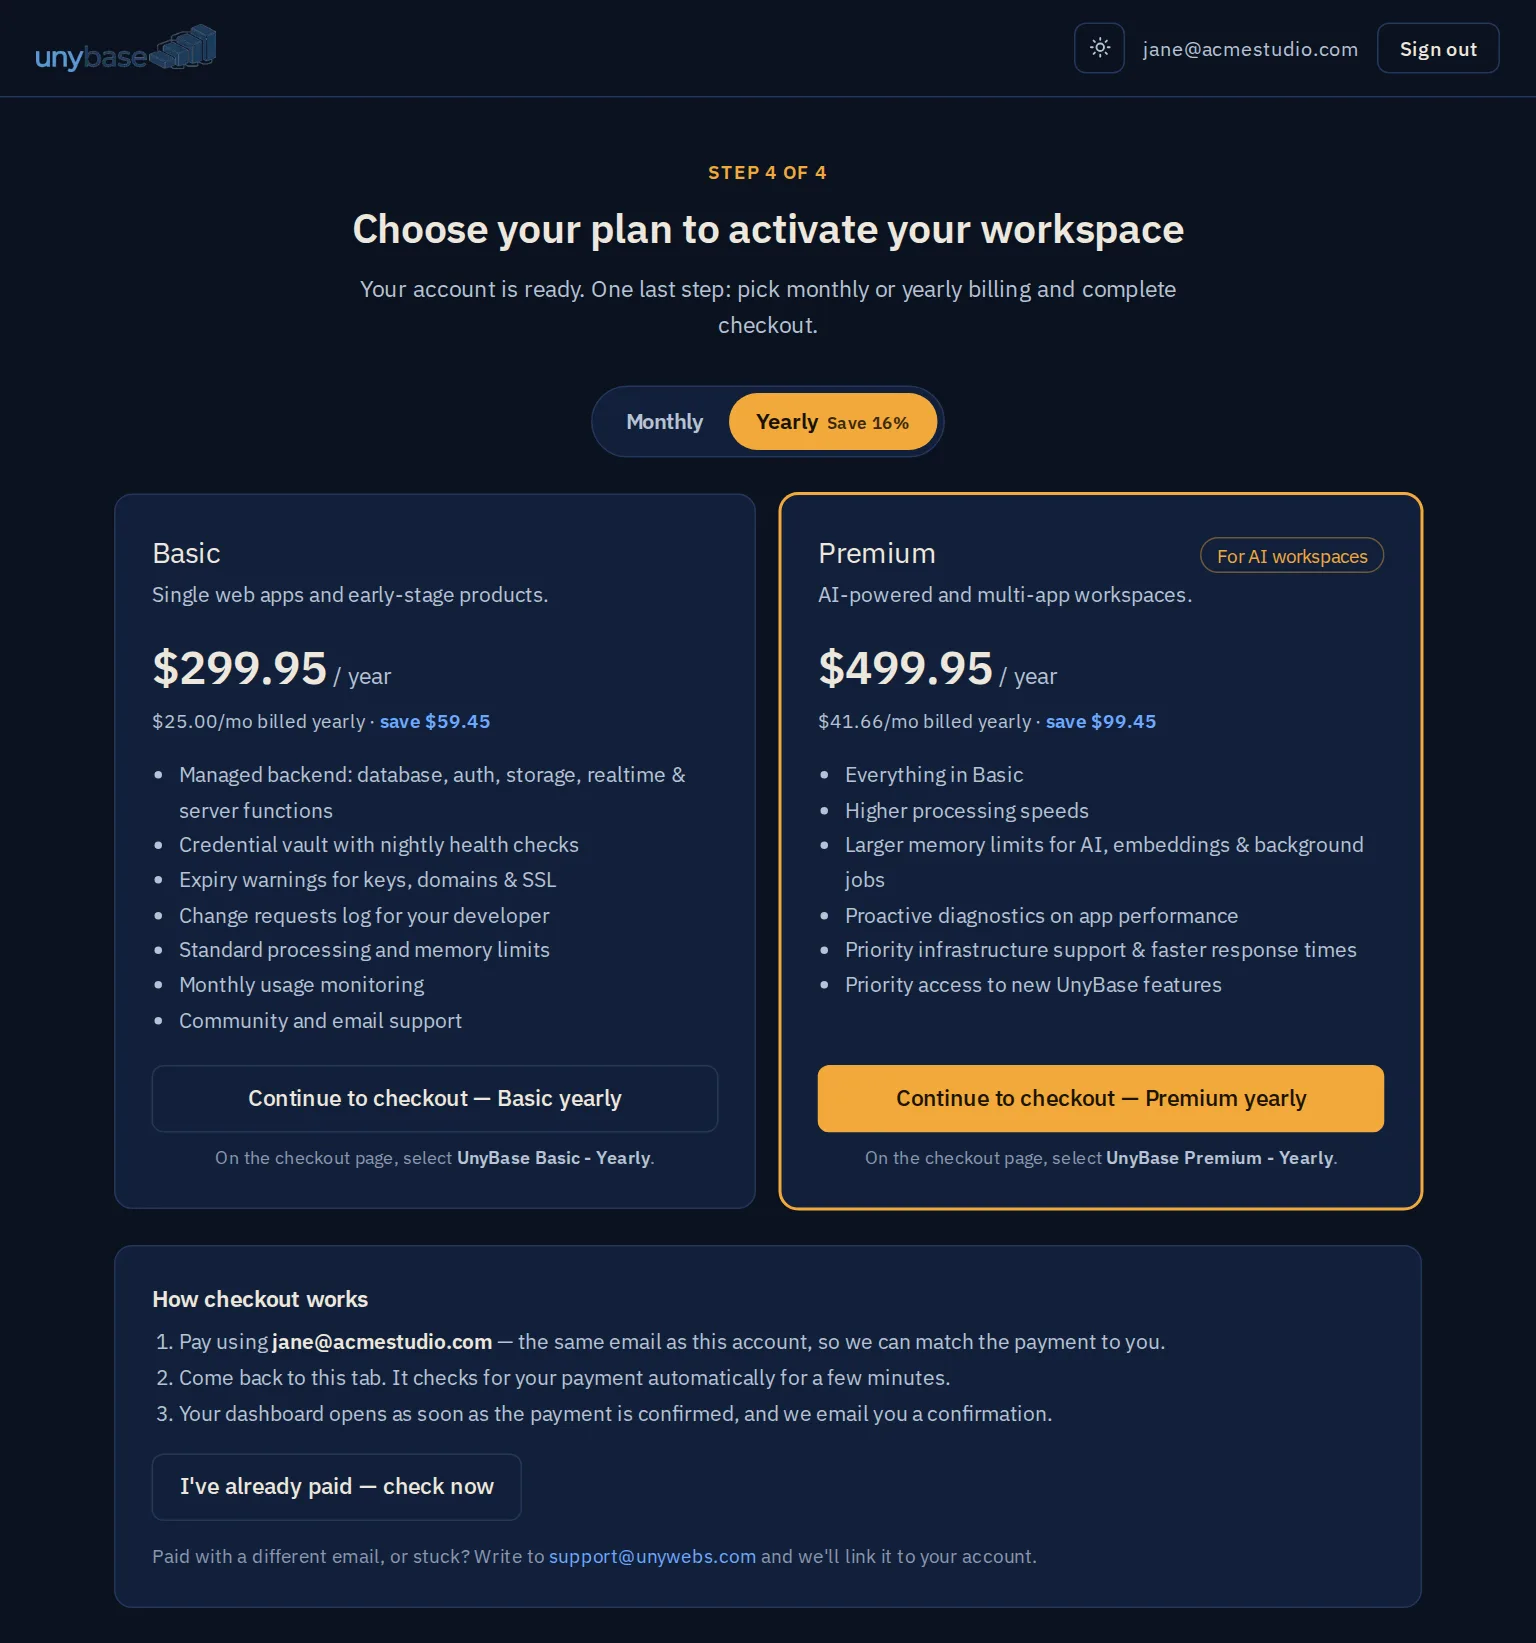
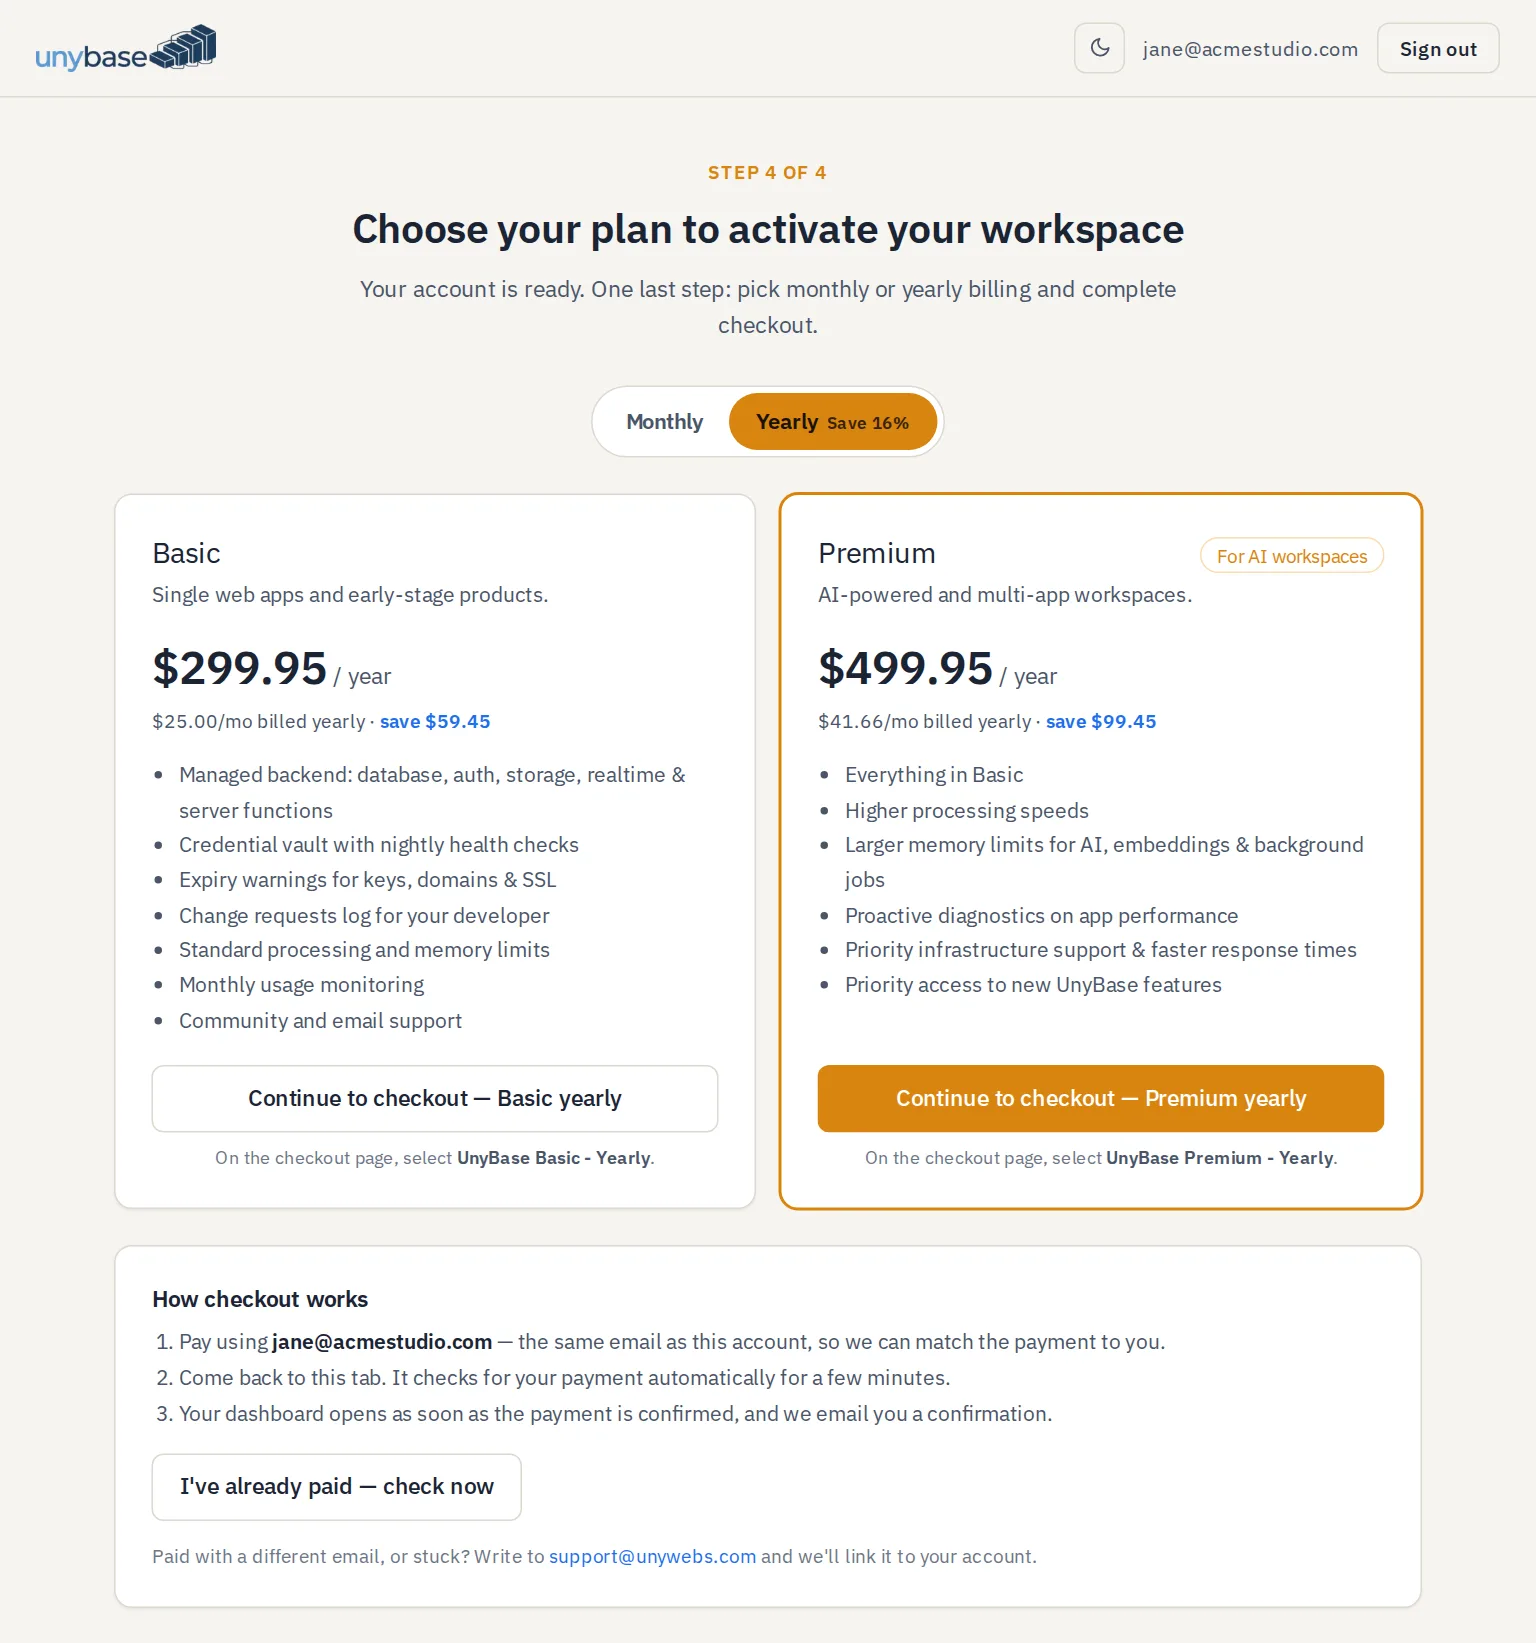
Tap the screenshot to open it full size.
- Monthly or yearly. Yearly saves 16% compared with paying monthly.
- Your plan. The one you picked on our website is already highlighted. Click the other card to switch.
- Continue to checkout. Opens secure checkout in a new tab.
- Pick the matching option. Monthly and yearly sit on the same checkout page — tick the one named here.
- Already paid? Come back to this tab. It checks for your payment by itself for a few minutes; this button checks again immediately.
- Sign out. You can leave and come back — you'll return to this page until checkout is done.
| Plan | Monthly | Yearly | Best for |
|---|---|---|---|
| Basic | $29.95 | $299.95 | Single web apps and early-stage products. |
| Premium | $49.95 | $499.95 | AI-powered and multi-app workspaces. |
2Finding your way around
Every page has the same bar along the top. The Overview is your home page: a summary of your workspace, with anything that needs a look called out in orange.
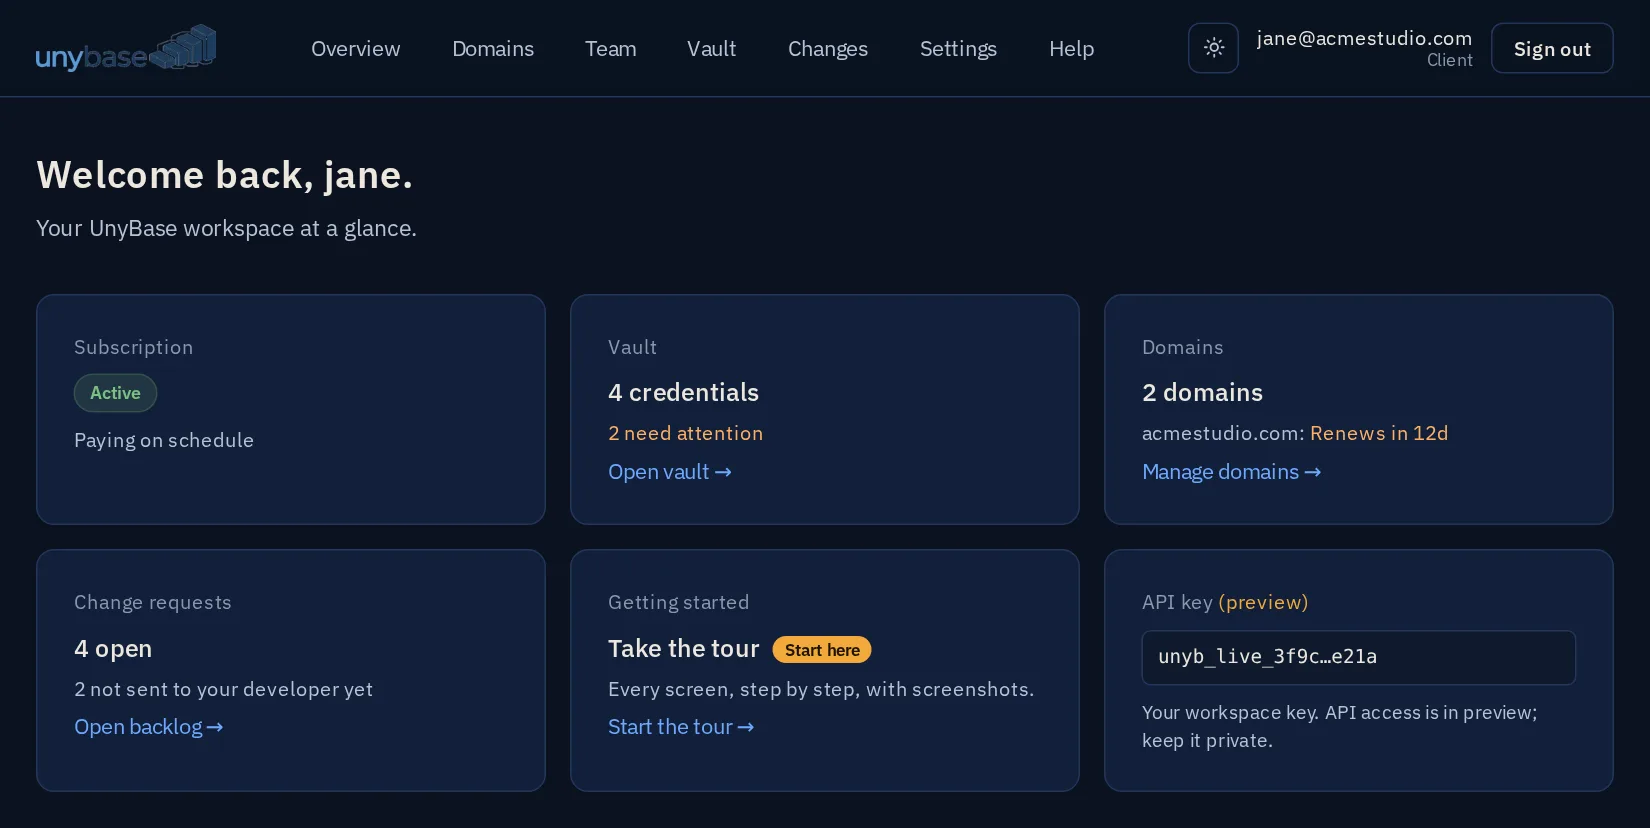
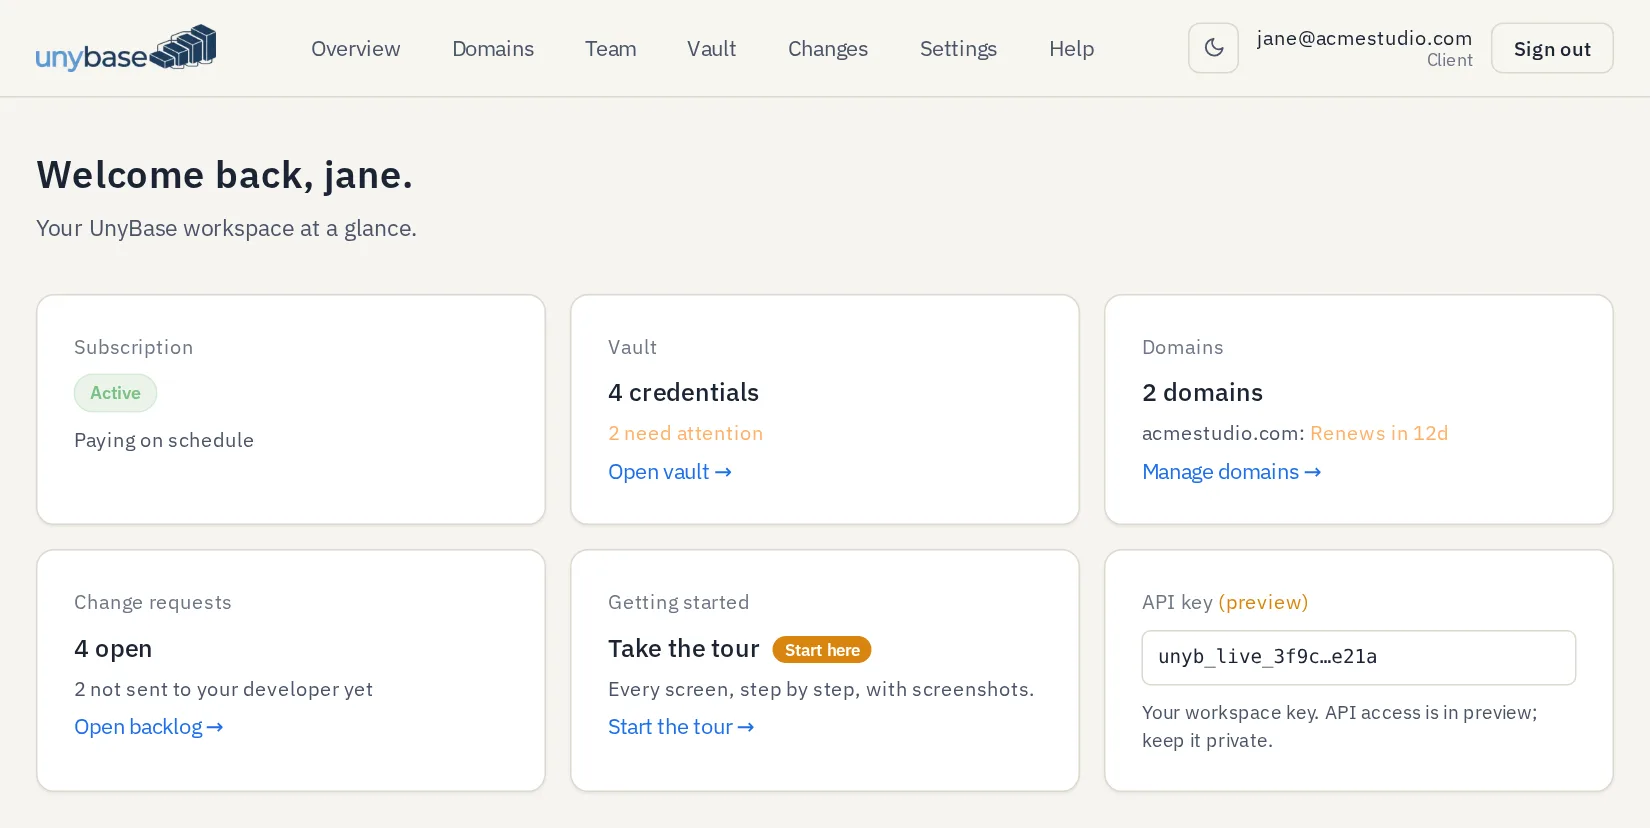
Tap the screenshot to open it full size.
- Main menu. Overview, Domains, Team, Vault, Changes, Settings and Help, which opens this getting-started tour and the full guide.
- Light / dark. Switches the whole app between a light and a dark look. Your choice is remembered on this device.
- Your account. The email you're logged in with.
- Sign out. Always sign out on shared computers.
- Subscription. Your plan's status. Active means everything is paid up.
- Vault. How many credentials you store, and how many need attention.
- Domains. How many you track, and the next one due for renewal.
- Change requests. Edits still open, and how many haven't been sent to your developer yet.
- Getting started. Opens the step-by-step tour of every screen. It shows New when steps have been added since your last visit.
| Menu | What it's for |
|---|---|
| Overview | Your home page — the summary above. |
| Domains | Your web addresses: where they're registered and when they renew. More ↓ |
| Team | Inviting teammates is coming soon. Until then, use Vault sharing or Settings to give people access. |
| Vault | Your API keys, tokens and logins, with health checks and expiry warnings. More ↓ |
| Changes | A running list of edits you want made to your site or tools. More ↓ |
| Settings | Who can access your whole workspace. More ↓ |
| Help | The getting-started tour: every screen step by step, with a track for each kind of user. It links back to this full guide. |
3Vault
The vault holds the credentials your website and apps run on — API keys, access tokens, service logins. UnyBase checks each one still works and warns you before it expires, so a forgotten key never quietly takes your site down.
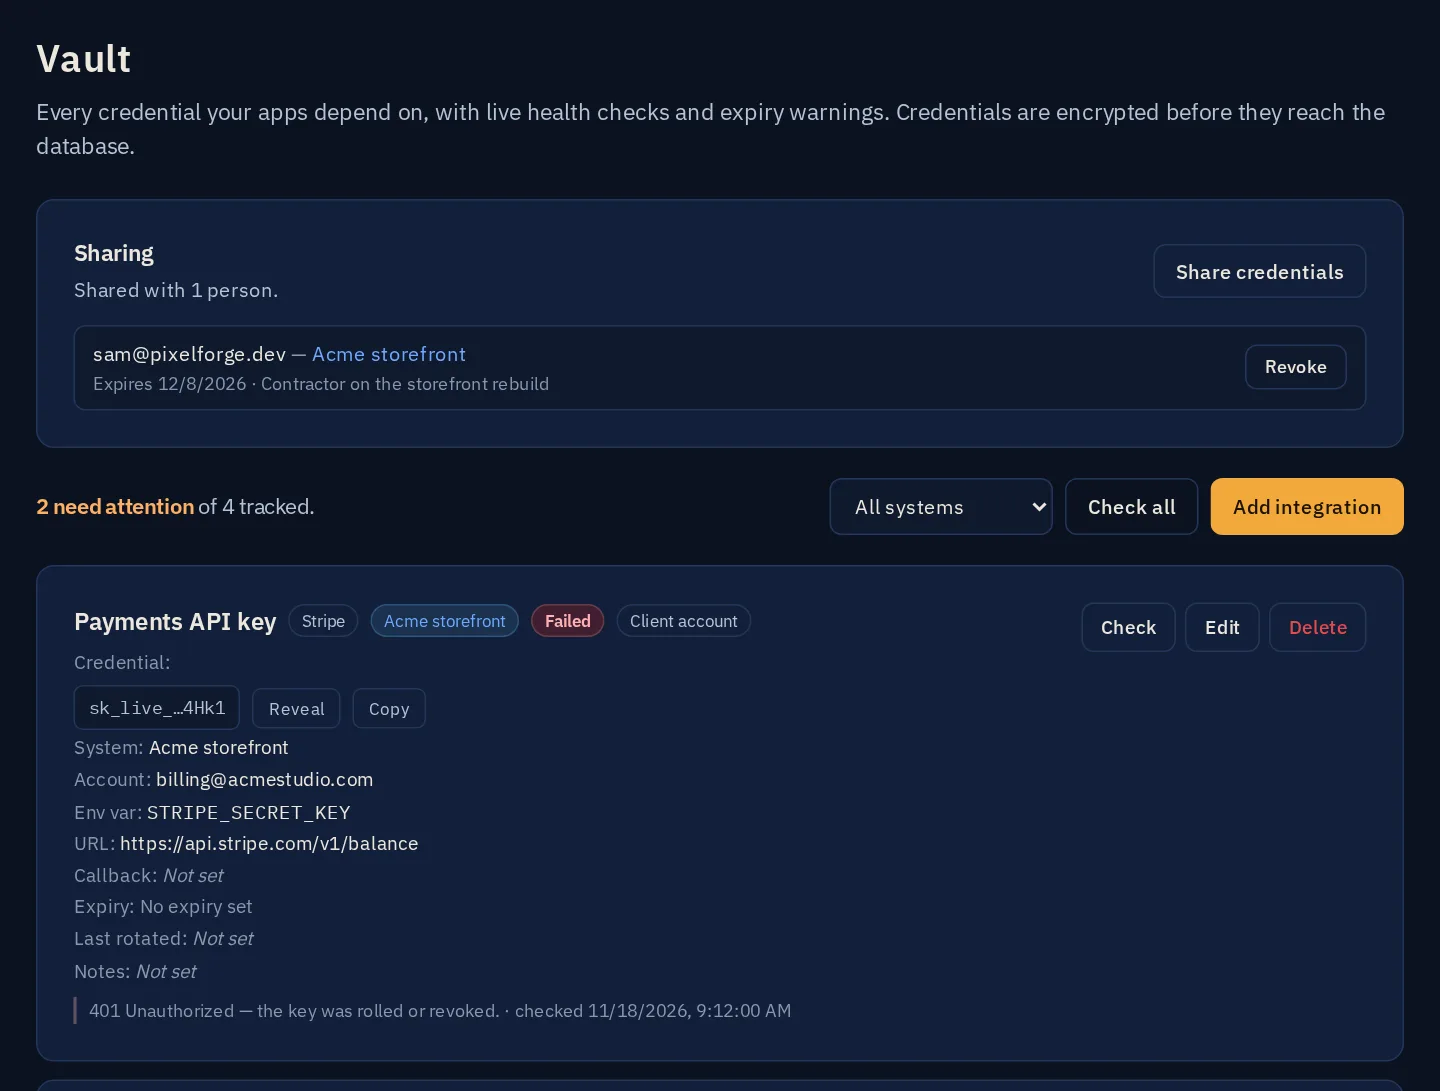
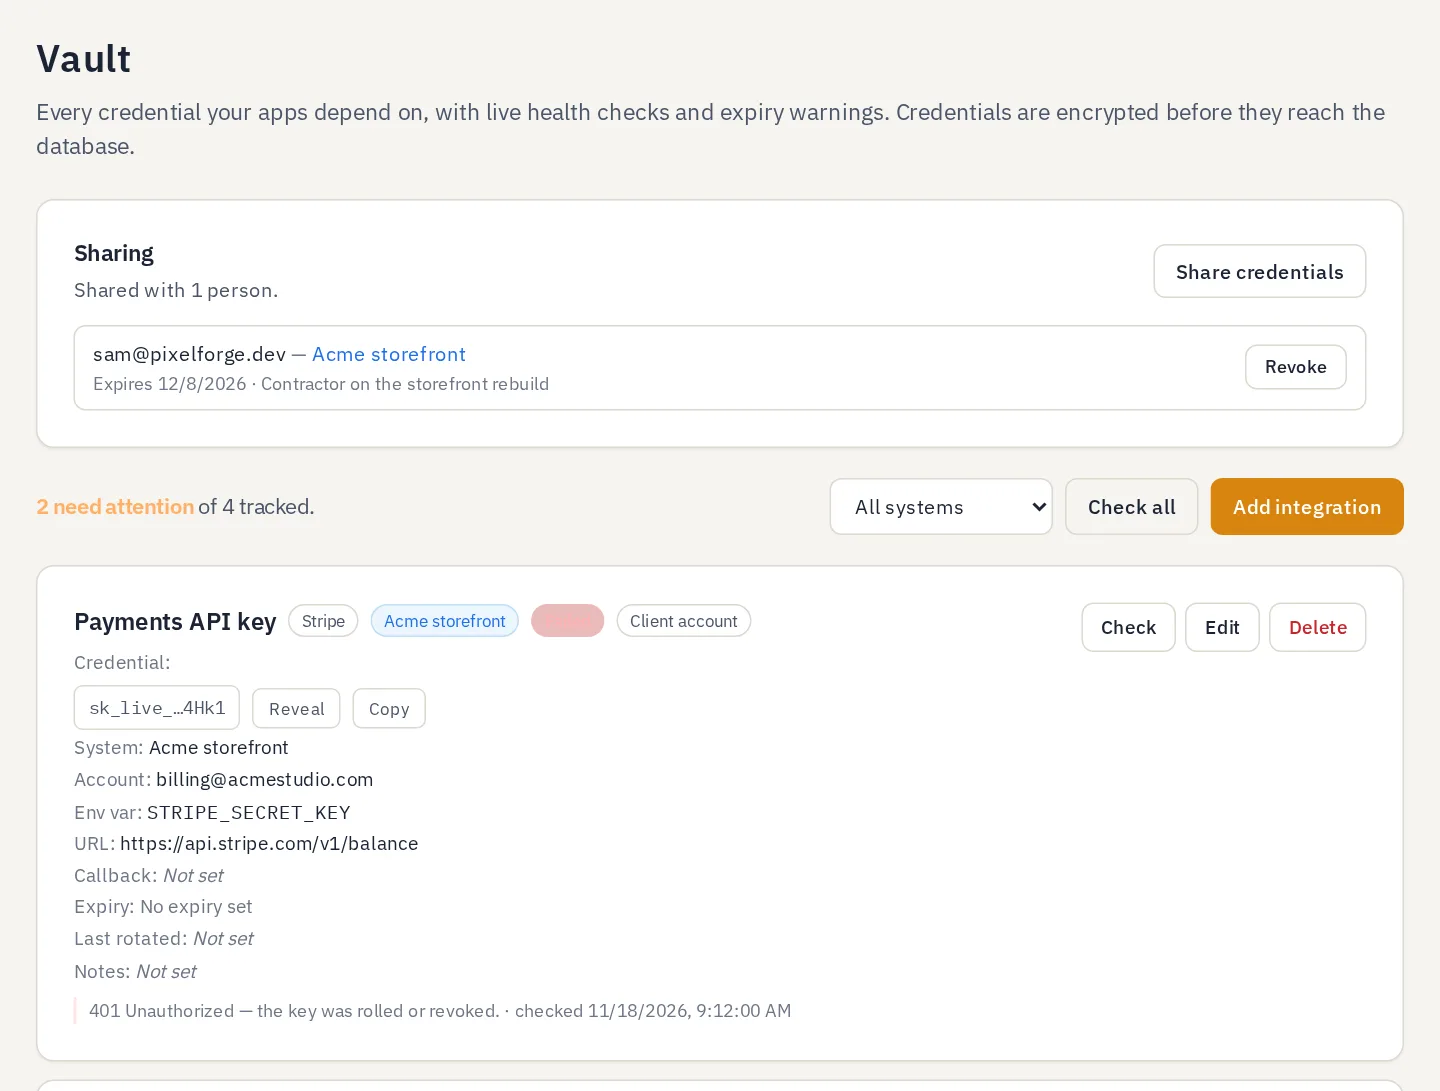
Tap the screenshot to open it full size.
- Sharing. Who else can see your credentials. How sharing works
- Attention summary. How many credentials need a look. Problems are always sorted to the top.
- Filter by system. Show only the credentials for one website or app.
- Check all. Tests every credential right now. They're also tested automatically every night.
- Add integration. Store a new credential. Step by step
- Health. The result of the last check (see the table below).
- System tag. Which app or site it belongs to. Click it to filter by that system.
- Check · Edit · Delete. Test this one now, change its details, or remove it.
- Last check result. What the provider said, in plain words, and when.
What the colours mean
| Health | What it means | What to do |
|---|---|---|
| Healthy | It worked the last time we tried it. | Nothing. |
| Degraded | It answered, but not normally (for example limited permissions or a slow reply). | Keep an eye on it; check the note on the card. |
| Failed | It was rejected — usually the key was changed, revoked or has expired. | Create a new key with the provider, then Edit and paste it in. |
| Not checked | We haven't tested it yet, or it's a provider we can't test automatically. | Press Check. For a custom provider, add its URL so it can be tested. |
Reading a credential card
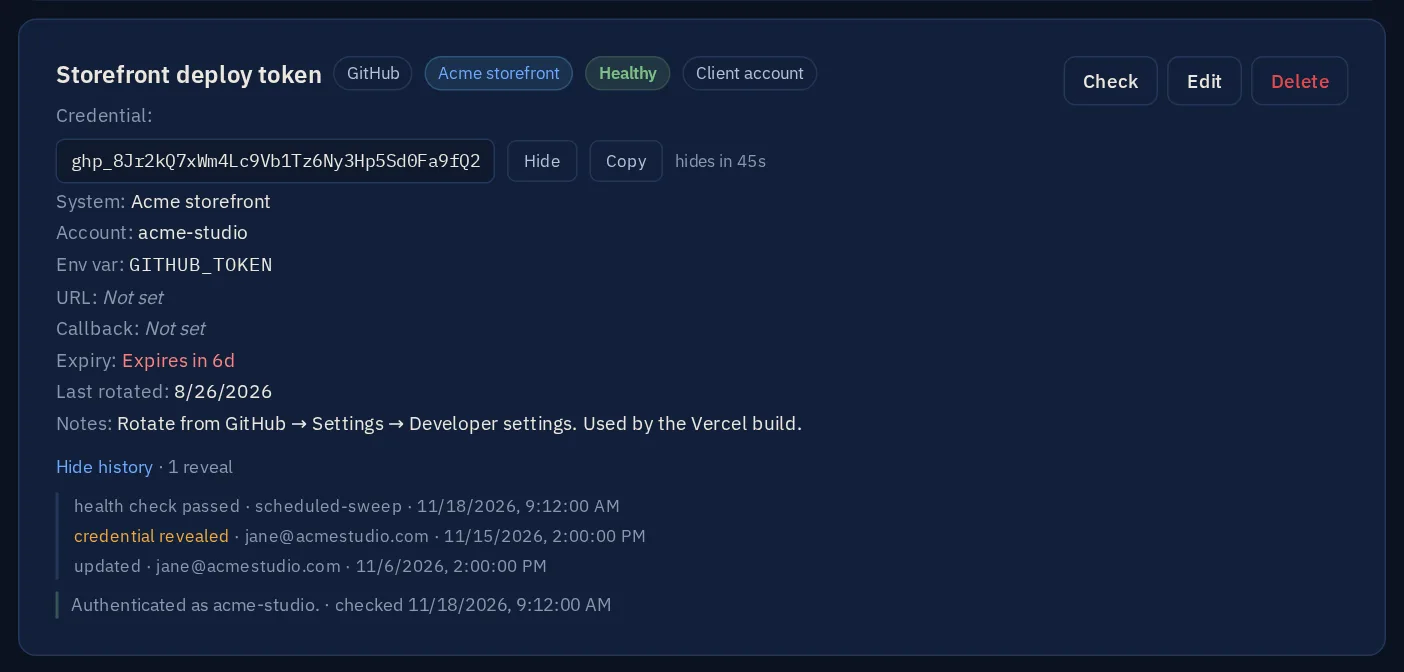
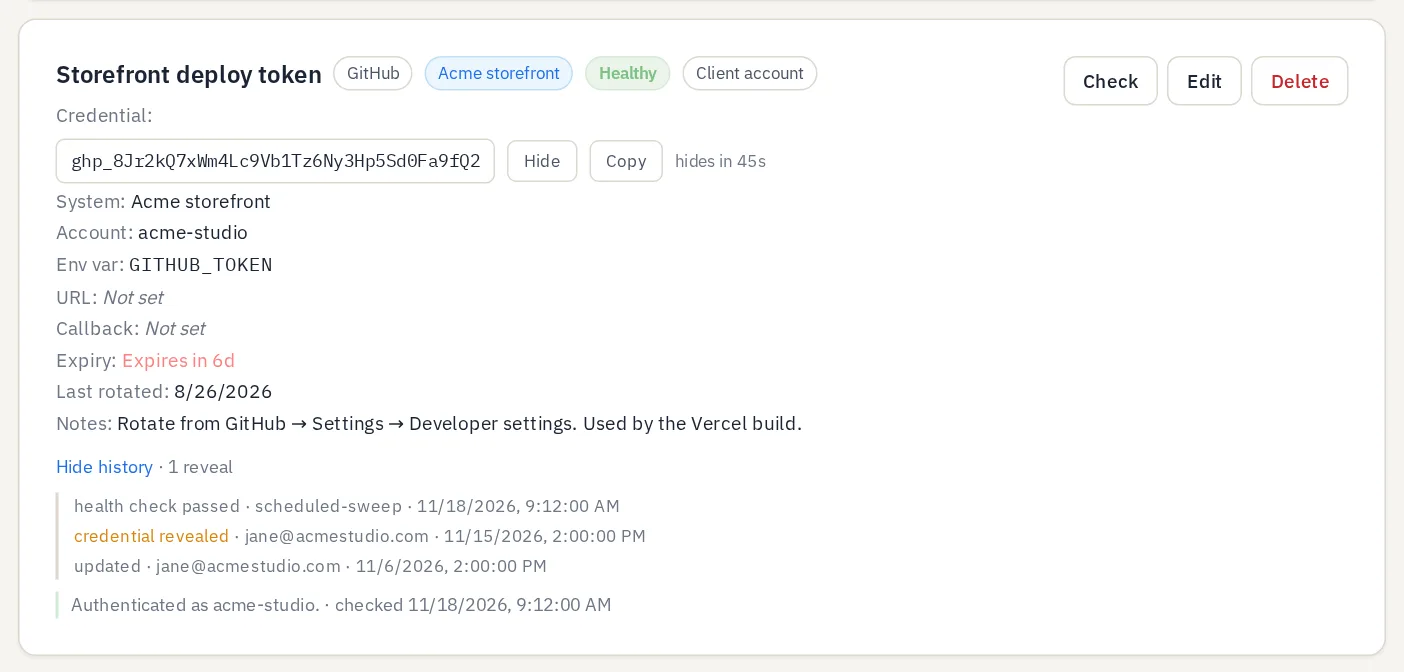
Tap the screenshot to open it full size.
- Provider. The service the credential is for.
- Health. Green means the last check passed.
- Whose account. Client account means it belongs to you; Agency account means it's your agency's. Handy if you ever change agencies.
- Reveal. Shows the full credential. It hides itself again after 45 seconds.
- Copy. Copies it without ever showing it on screen — the safest way to use it.
- Expiry. Turns orange two weeks before and red one week before it expires.
- Notes. Anything the next person needs to know, like where to renew it.
- History. Every check, edit and reveal — who did it and when.
Expiry warnings
If you set an expiry date, you get an email at each of these points — plus one whenever a working credential suddenly fails its check.
4Adding a credential
Press Add integration on the Vault page. Only the name is required — fill in what you know and come back to the rest later.
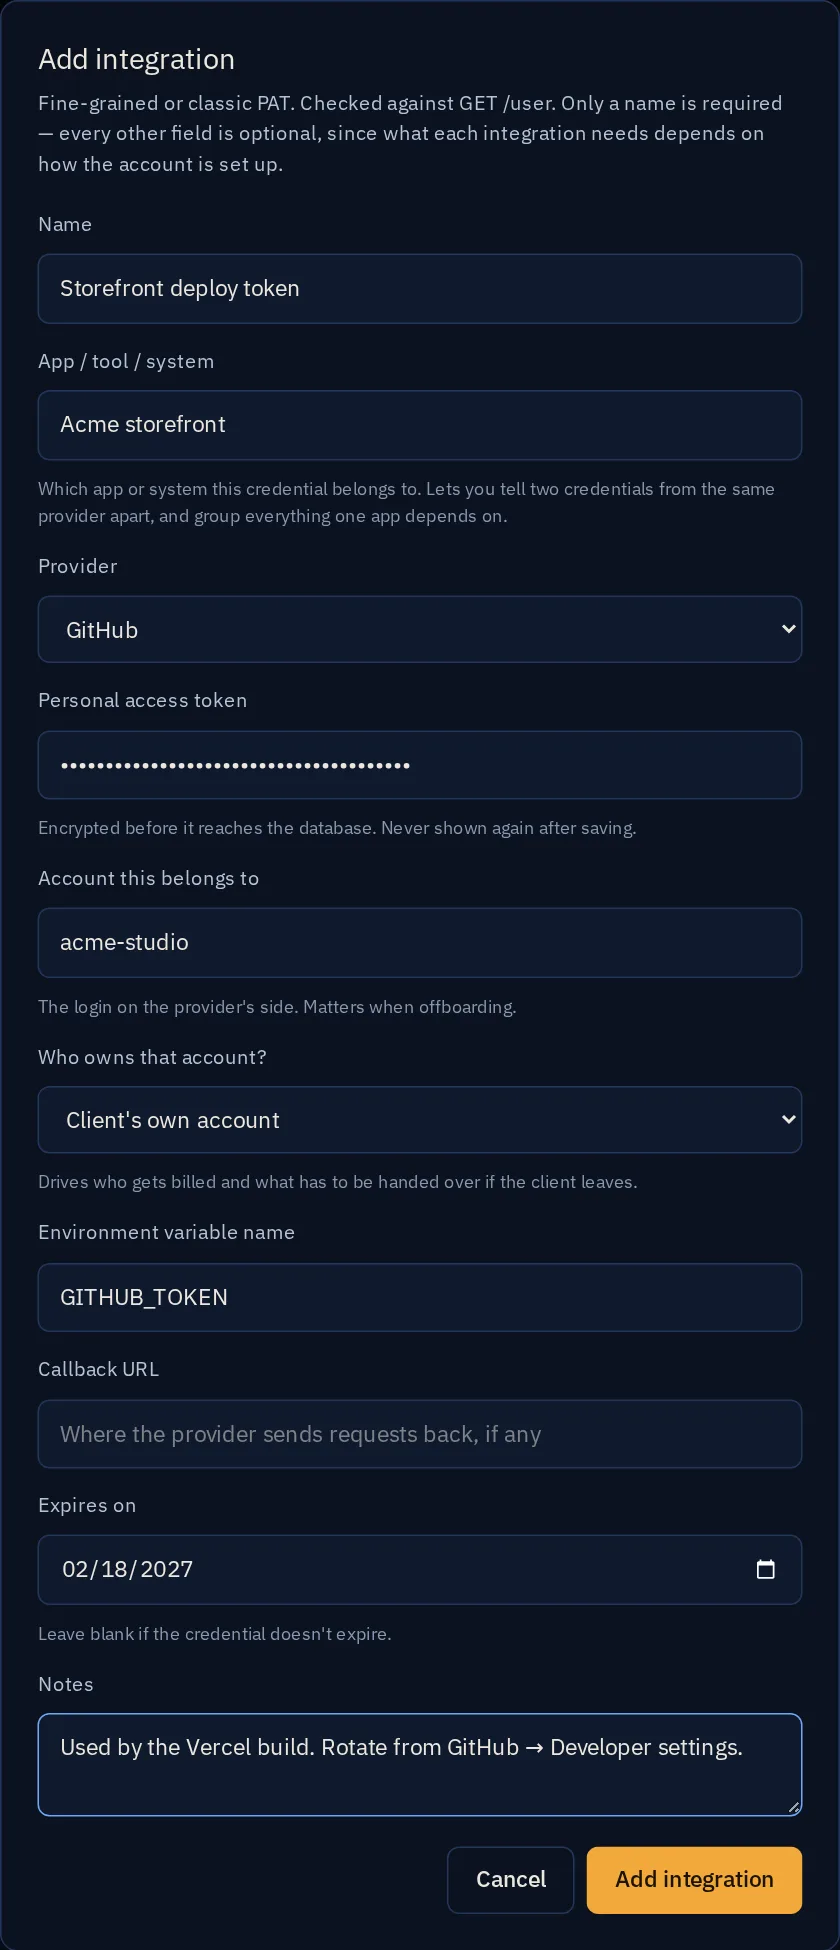
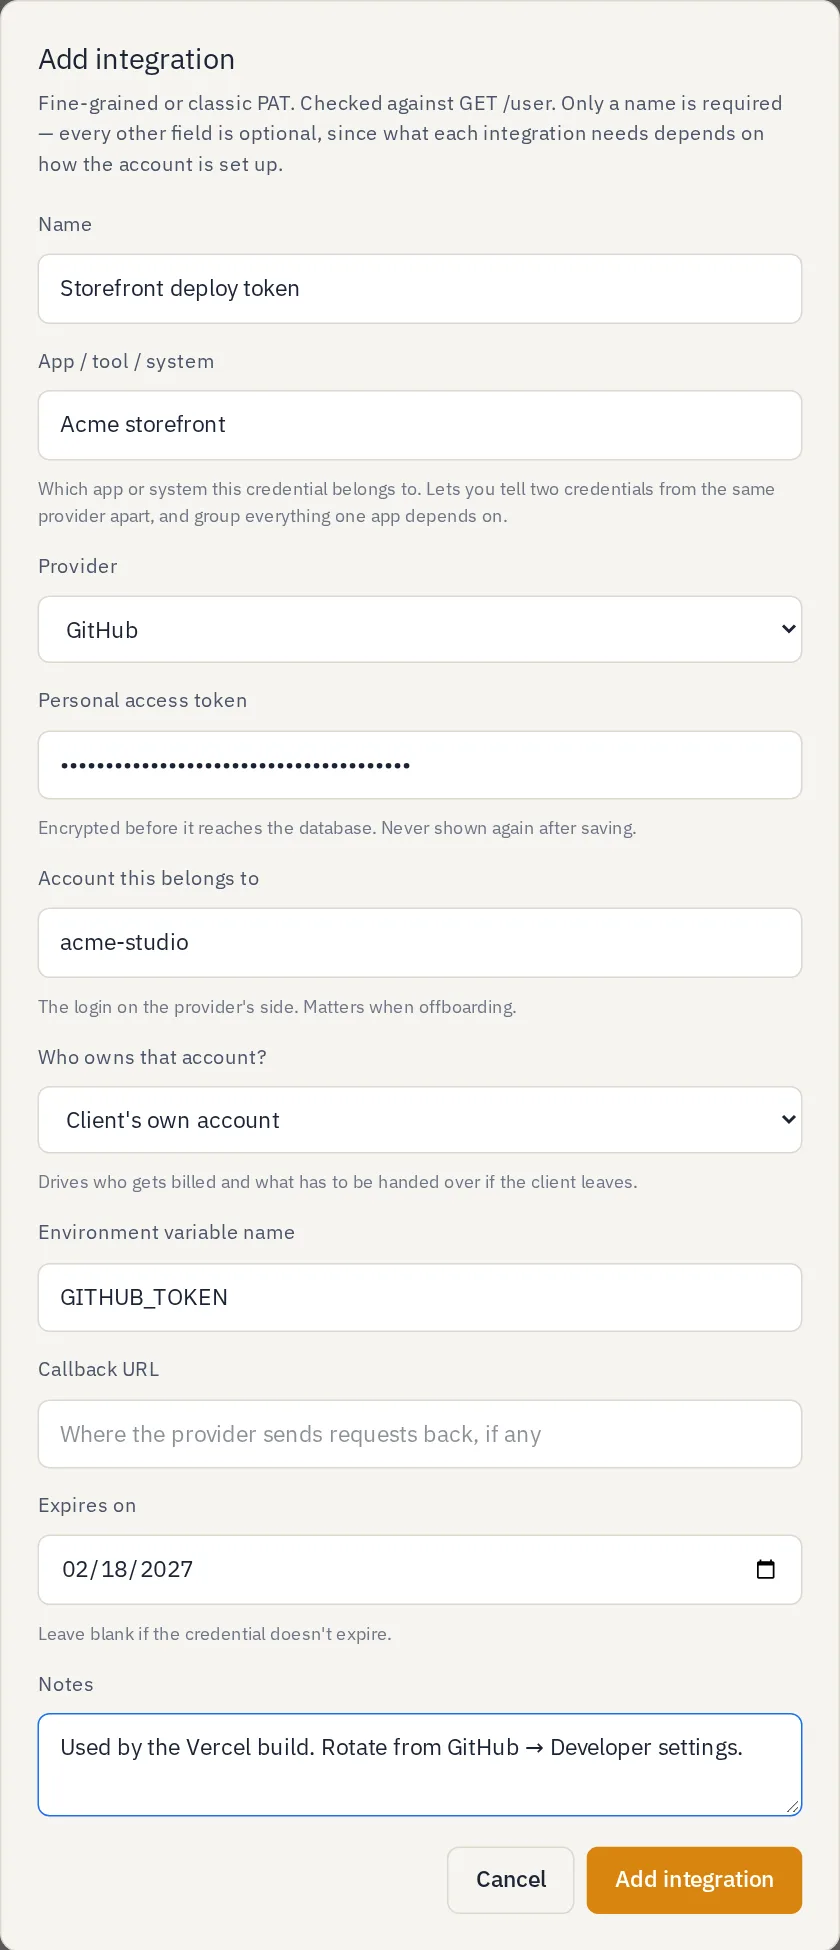
Tap the screenshot to open it full size.
- Name. Something you'll recognise, like “Storefront deploy token”.
- App / tool / system. Which site or app uses it. Reuse the same name to group things — it powers the filters and sharing.
- Provider. Pick the service (GitHub, Supabase, Vercel, ClickUp, systeme.io…). Choose Custom for anything else and type its name.
- The credential. Paste the key or token. It's encrypted as soon as you save.
- Account. The username or email the key belongs to.
- Who owns that account? You, or your agency.
- Expires on. If the provider gave it an end date, add it here to get warnings.
- Notes. Where to renew it, what uses it, who to ask.
- Add integration. Saves it. Press Check on its card to test it straight away — it's also tested every night.
5Sharing with your developer
Give a developer, contractor or teammate access to just the credentials they need. They log in with their own UnyBase account (free to create with the same email) and see only what you shared.
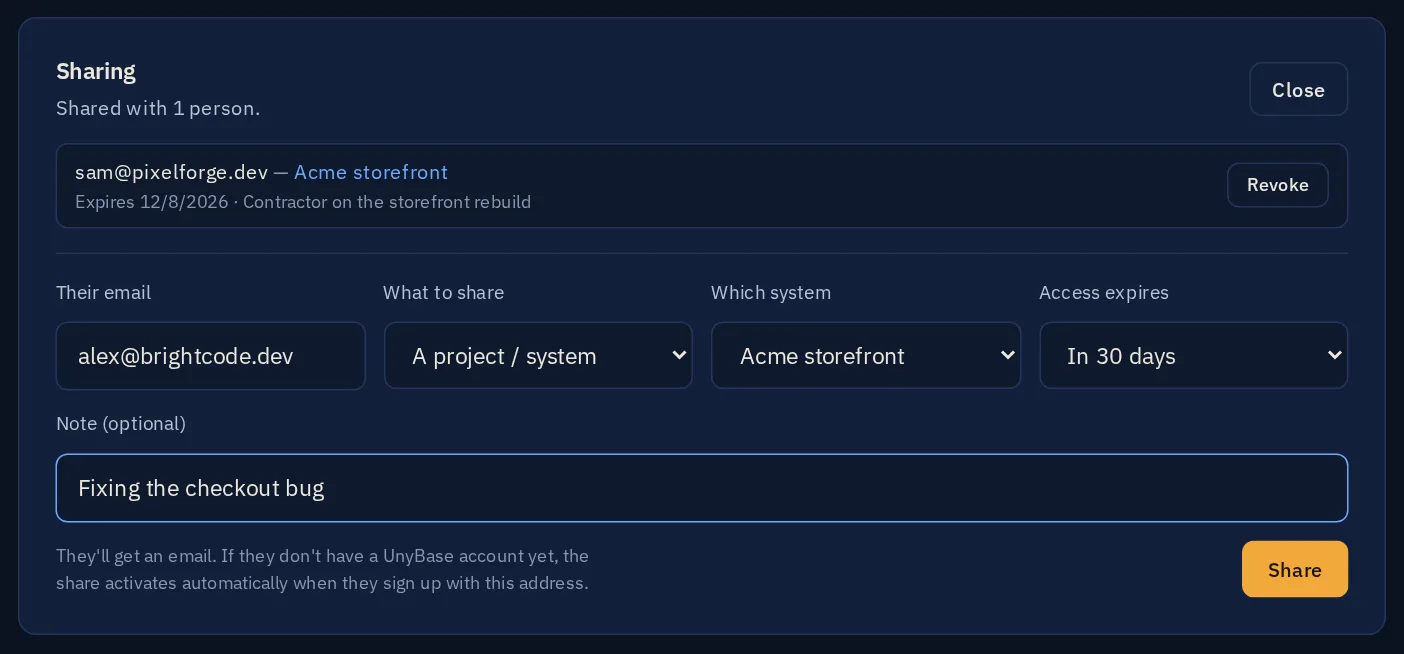
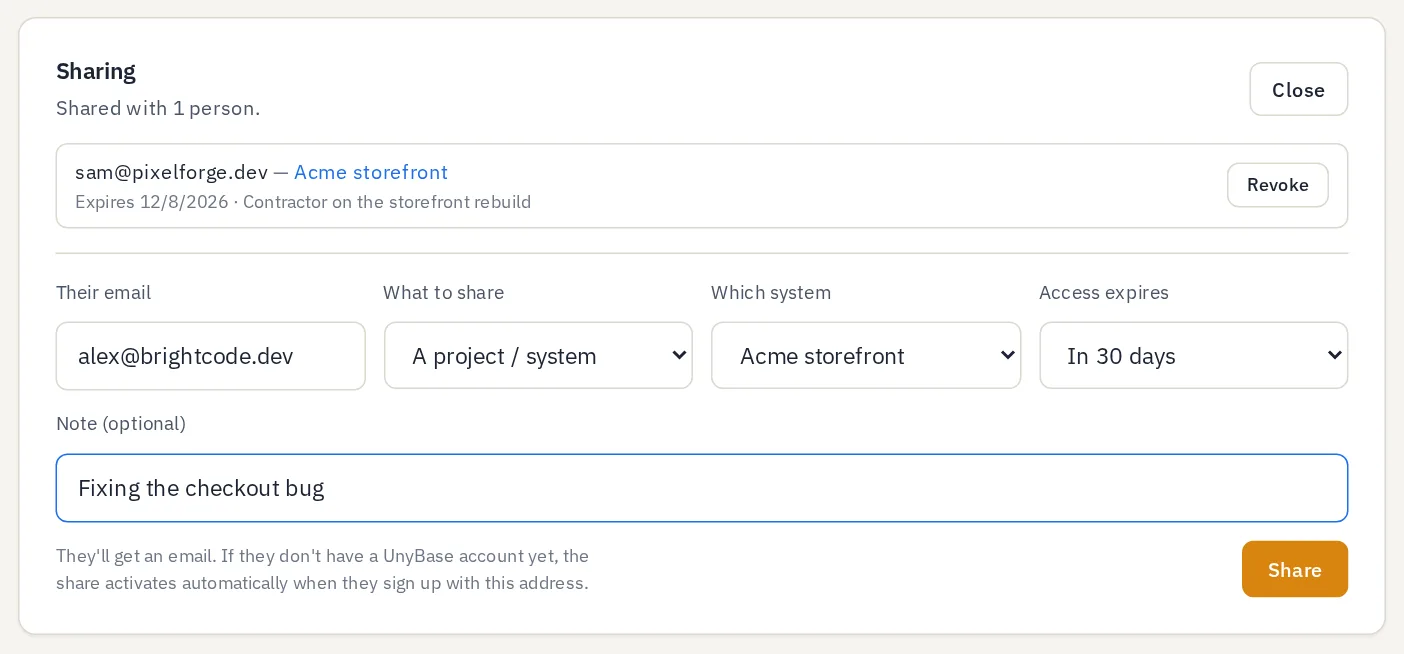
Tap the screenshot to open it full size.
- Their email. The address they'll log in with. They get an email letting them know.
- What to share. One project / system, a single credential, or everything.
- Which one. Pick the system (or credential) to share.
- Access expires. In 7, 30 or 90 days, or until you revoke it.
- Share. Takes effect immediately.
- Current shares. Who has access, to what, and until when. Revoke ends it instantly.
Sharing or Settings — which should I use?
| Vault → Share credentials | Settings → Grant access | |
|---|---|---|
| Best for | A freelancer or developer working on one site | An agency or technical admin who looks after everything |
| They can see | Only the credentials you pick | Your whole workspace, including your subscription status |
| They can also | Log change requests for that system and mark them done | Add and update credentials and change requests for you |
| Ends | On the date you choose, or when you revoke | On the date you choose, or when you revoke |
6Domains
A lapsed domain takes your whole site offline, so domains get their own page: where each one is registered, who manages its DNS, and when the domain and its security certificate (SSL) renew.
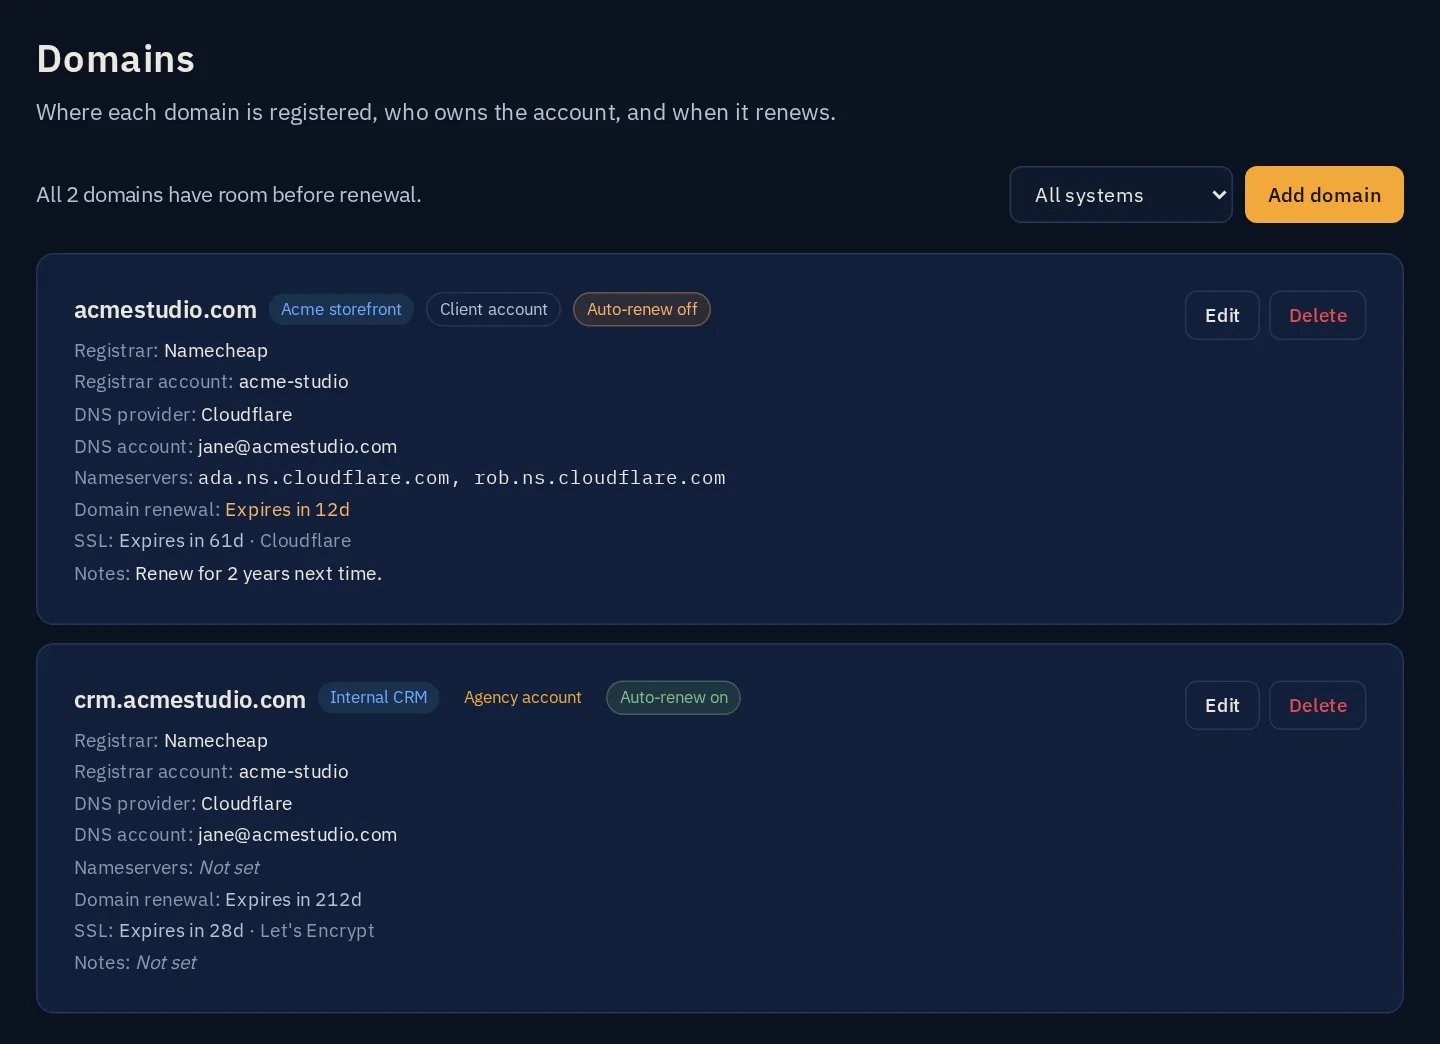
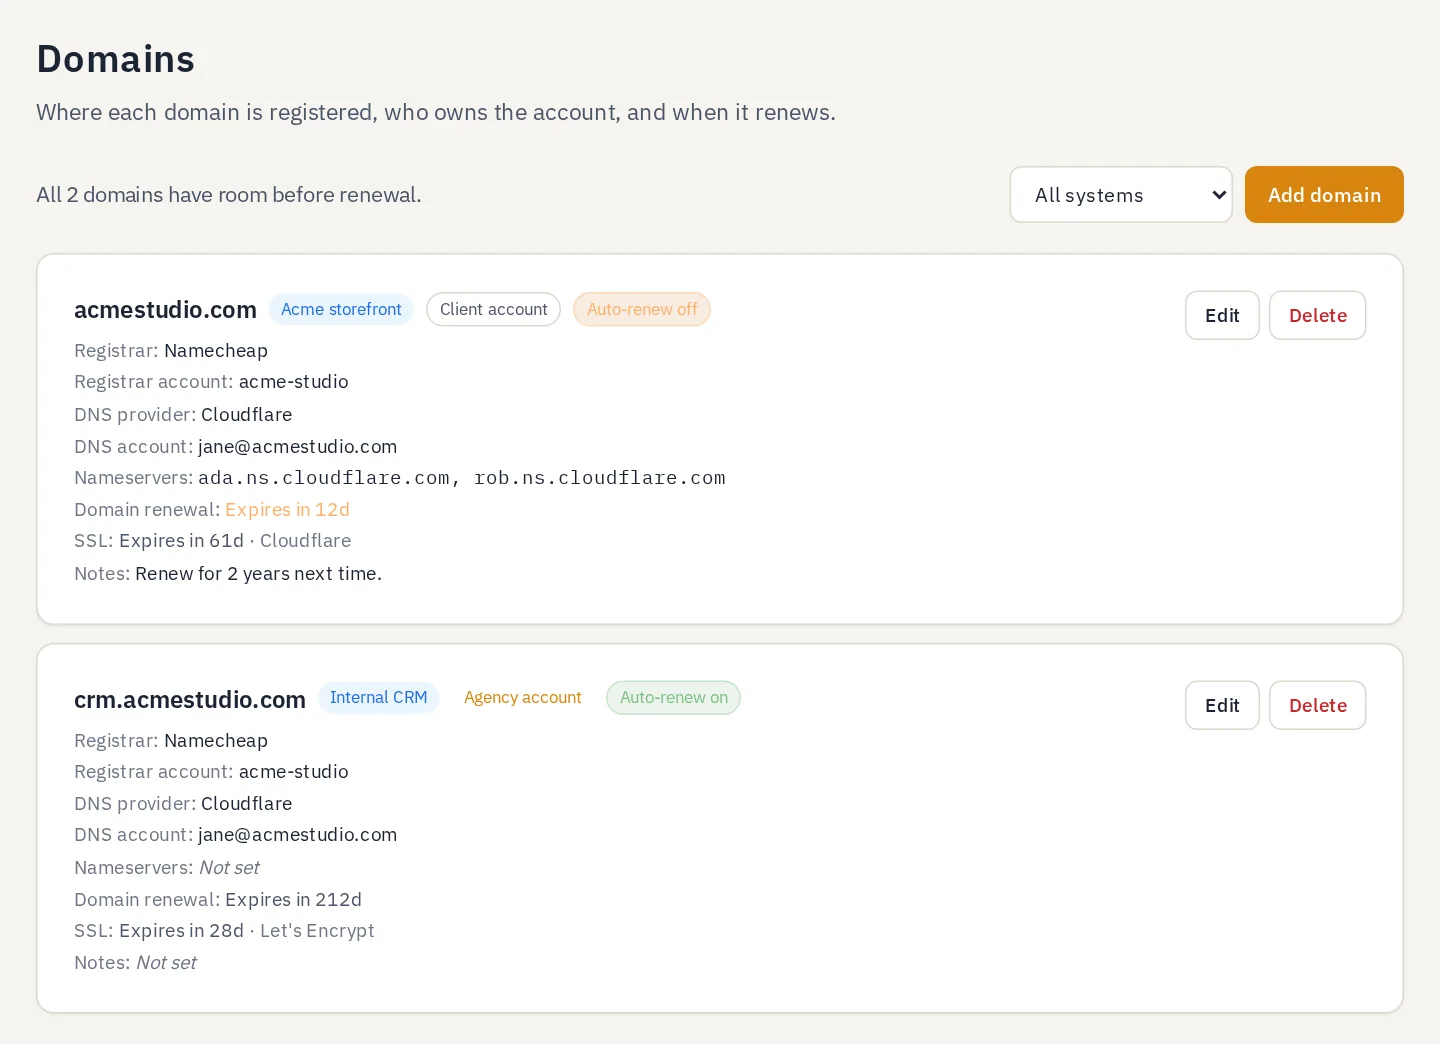
Tap the screenshot to open it full size.
- Add domain. Track a new web address.
- Auto-renew. Whether the registrar renews it by itself. Off means you must renew it by hand.
- Domain renewal. Days until the domain expires. Domains due soonest are listed first.
- SSL. When the security certificate (the padlock in the browser) expires.
- Whose account. Registered under your account or your agency's.
- Edit · Delete. Update the details or stop tracking it.
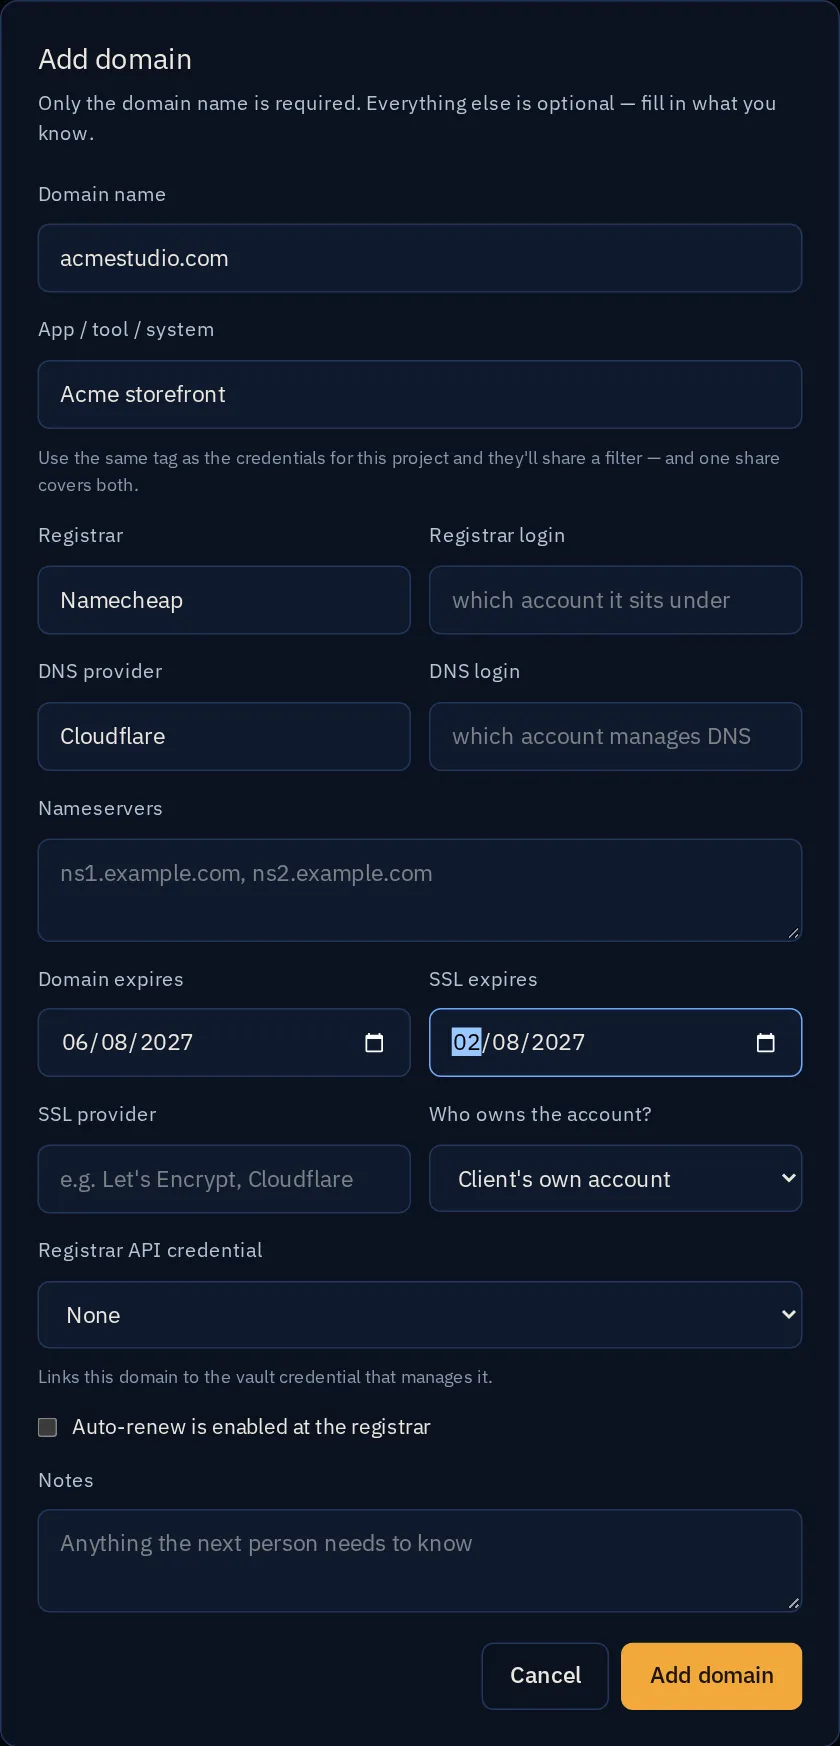
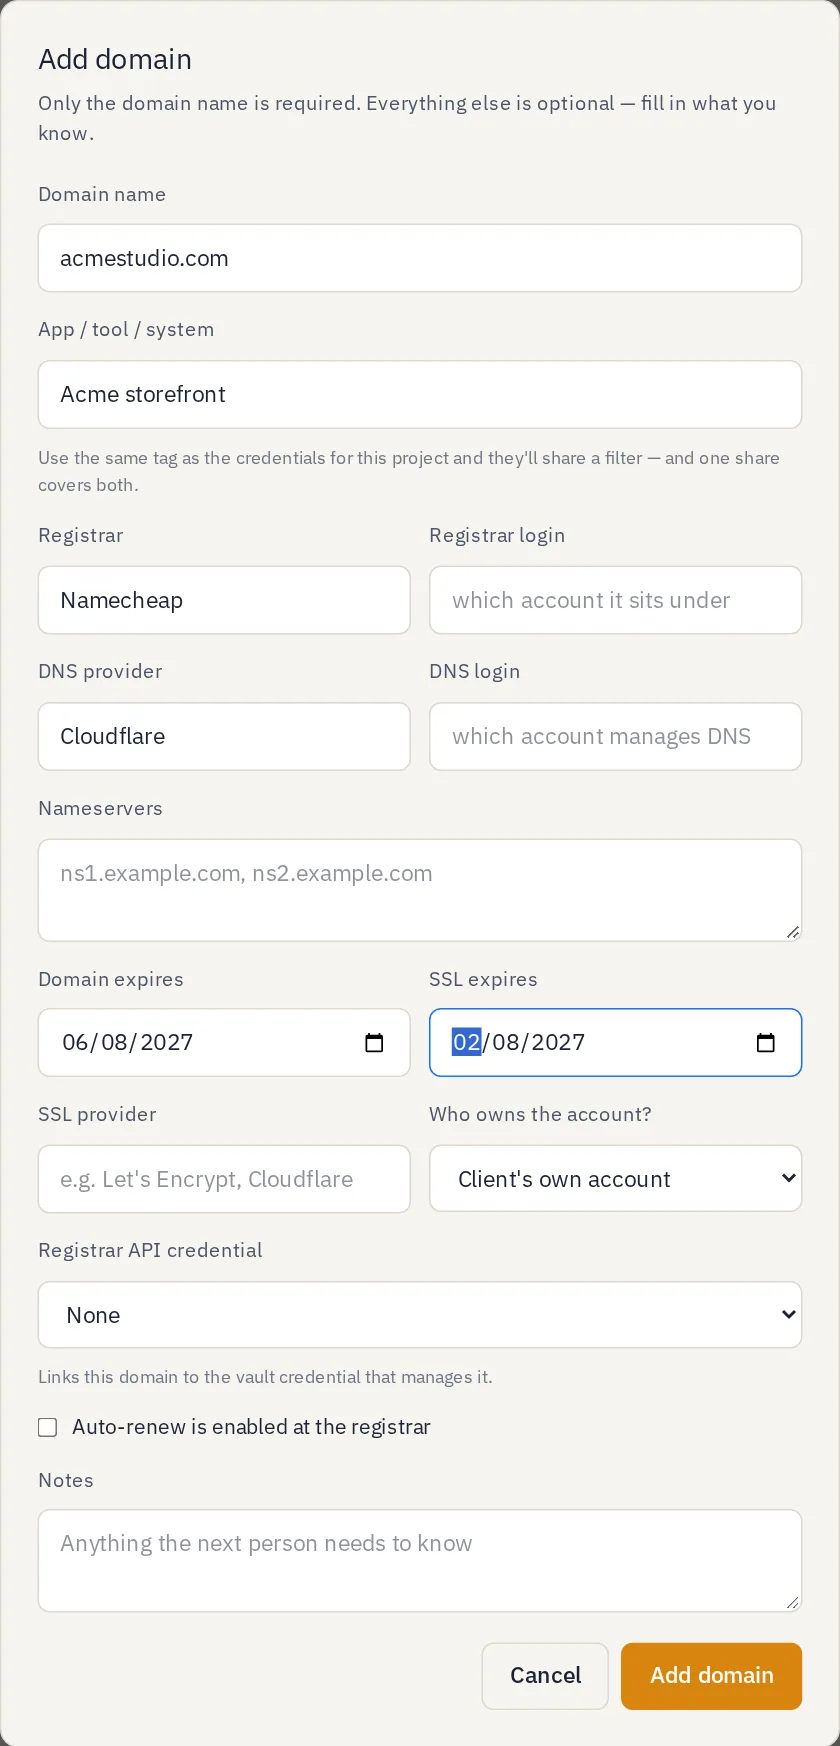
Tap the screenshot to open it full size.
- Domain name. For example yourbusiness.com.
- App / tool / system. Which site it points to.
- Registrar. Where you bought it (Namecheap, GoDaddy…) and which login it's under.
- DNS. Who manages its settings (often Cloudflare or the registrar).
- Expiry dates. When the domain and the SSL certificate expire — both trigger warnings.
- Auto-renew. Tick it if the registrar renews automatically.
- Add domain. Saves it.
Domains get earlier warnings than credentials, because moving or rescuing a domain can take weeks:
7Change requests
A change request is one edit you want made to your website or a tool — a fix, a tweak or something new. Jot them down as you notice them, then send a batch to your developer as one tidy, numbered list.
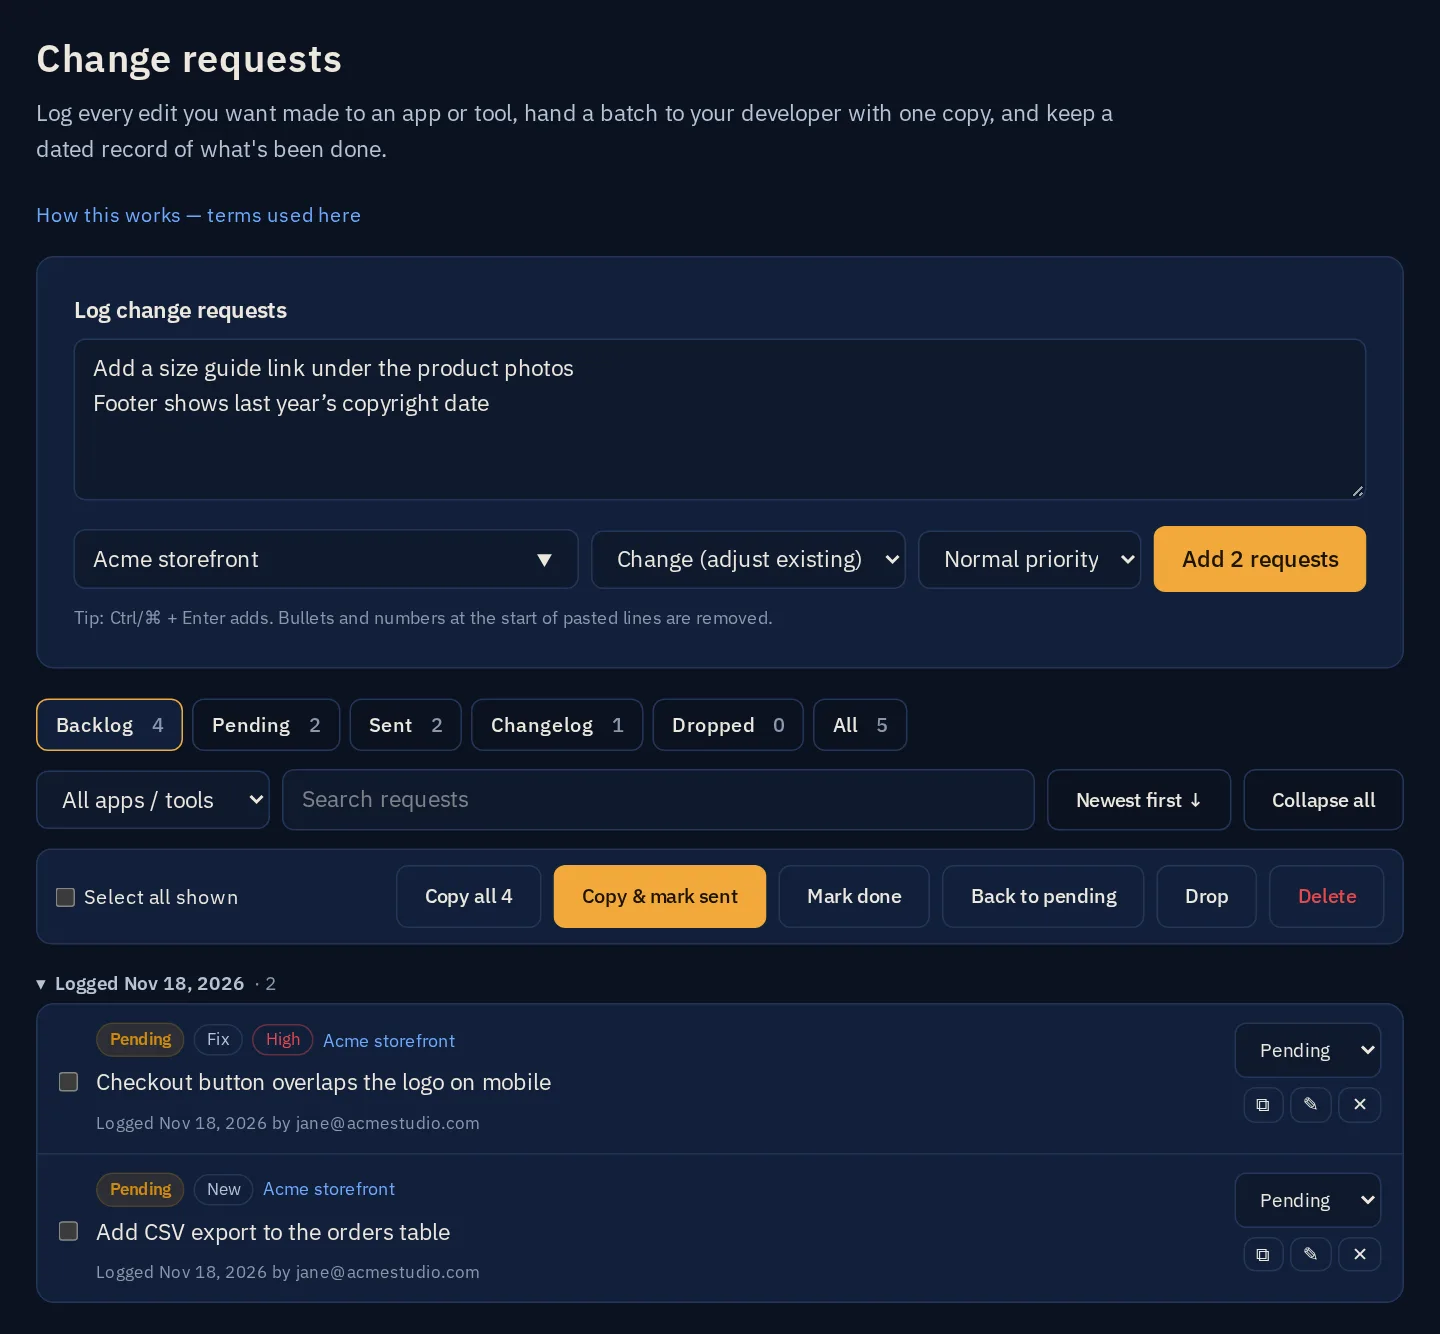
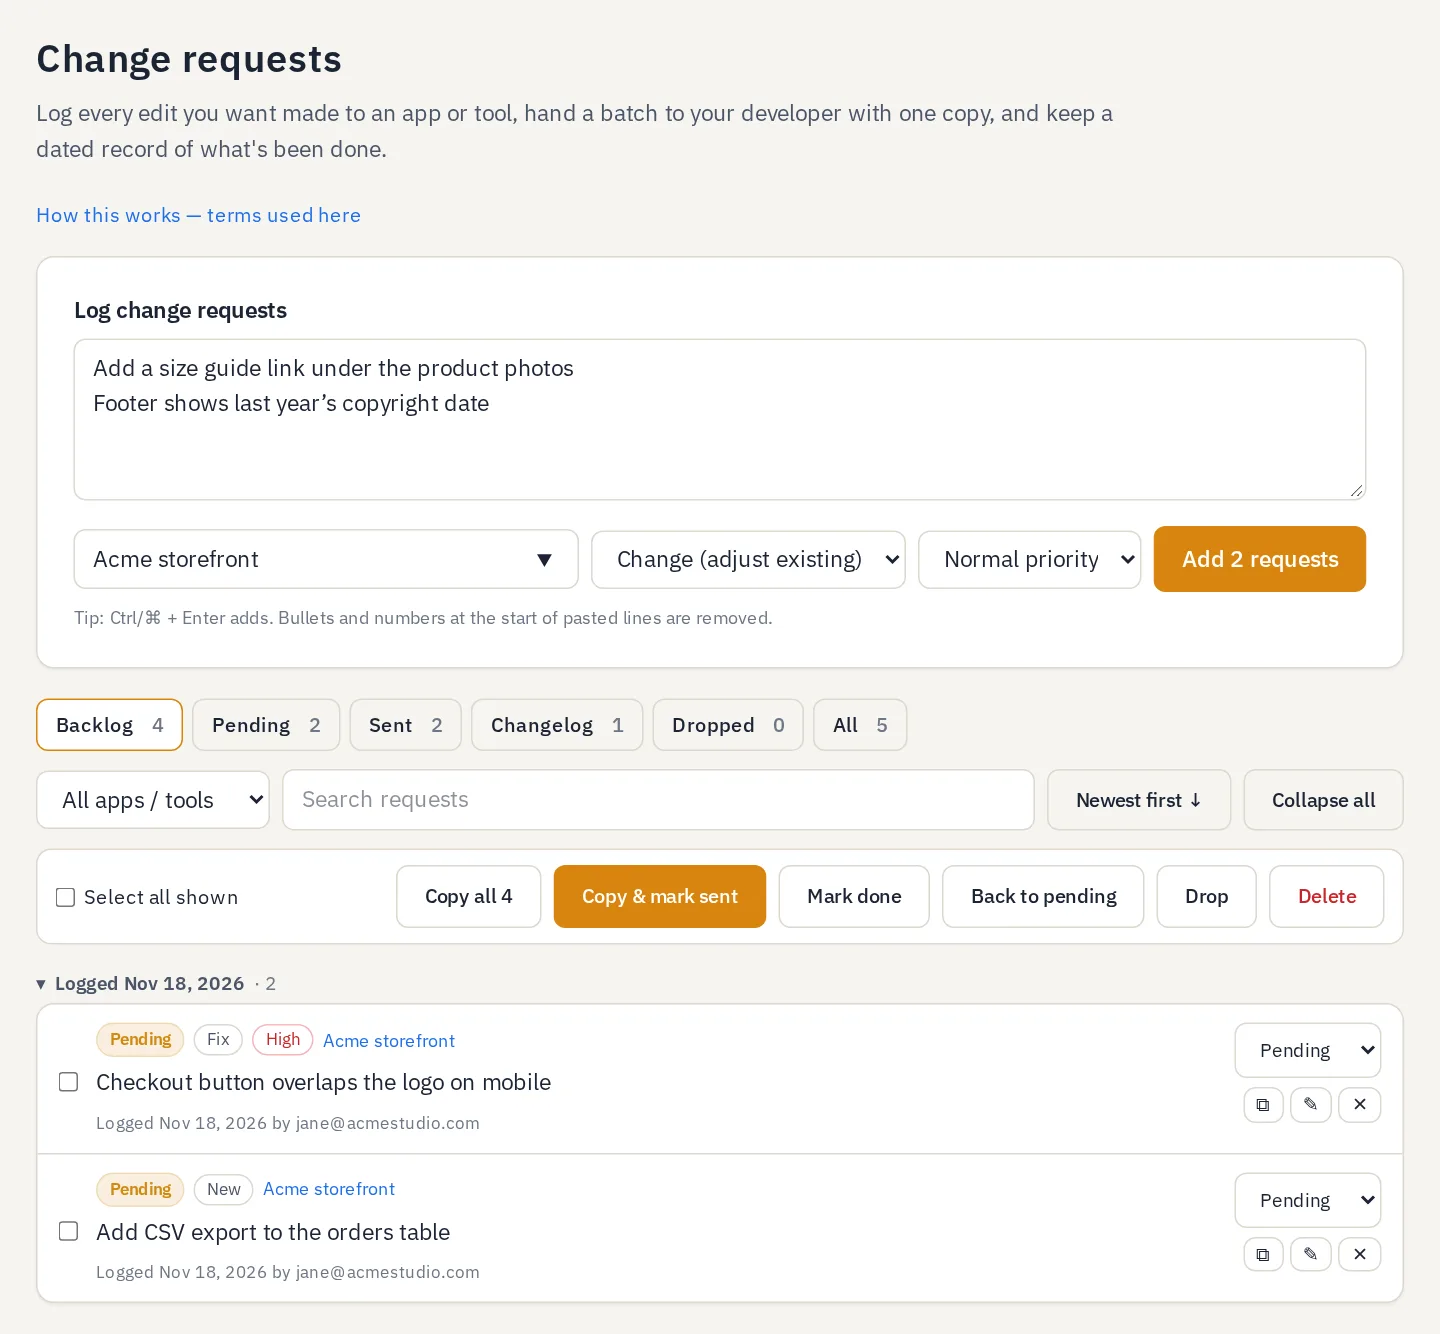
Tap the screenshot to open it full size.
- Log box. One request per line. Paste a list straight from your notes — bullets and numbers are tidied up.
- App / type / priority. Which site it's for, whether it's a Fix, Change or New feature, and how urgent.
- Add. Adds every line as its own request. Shortcut: Ctrl + Enter.
- Views. Backlog is everything still open; Changelog is what's done, by date.
- Copy & mark sent. Copies a numbered list to paste into an email, chat or AI tool, and marks those items as Sent.
- Status. Move a single item along: Pending → Sent → Done (or Dropped).
- Copy · Edit · Delete. Copy just this one, reword it, or remove it.
What gets copied
Paste it anywhere — it reads cleanly in an email, a chat message or an AI coding tool:
Change requests — Acme storefront
30 Oct 2026 · 2 items

1. [Fix] (High priority) Checkout button overlaps the logo on mobile
2. [New] Add CSV export to the orders table

Please reply with the item numbers as each one is done, and flag anything that needs a decision.
Your changelog
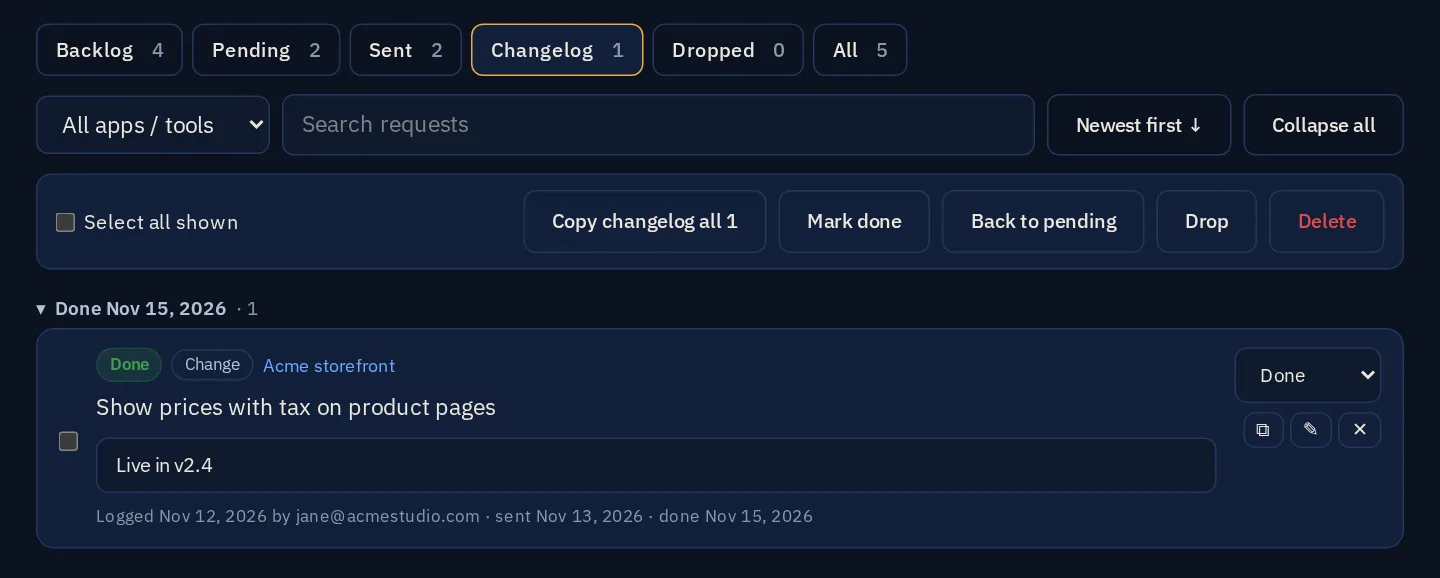
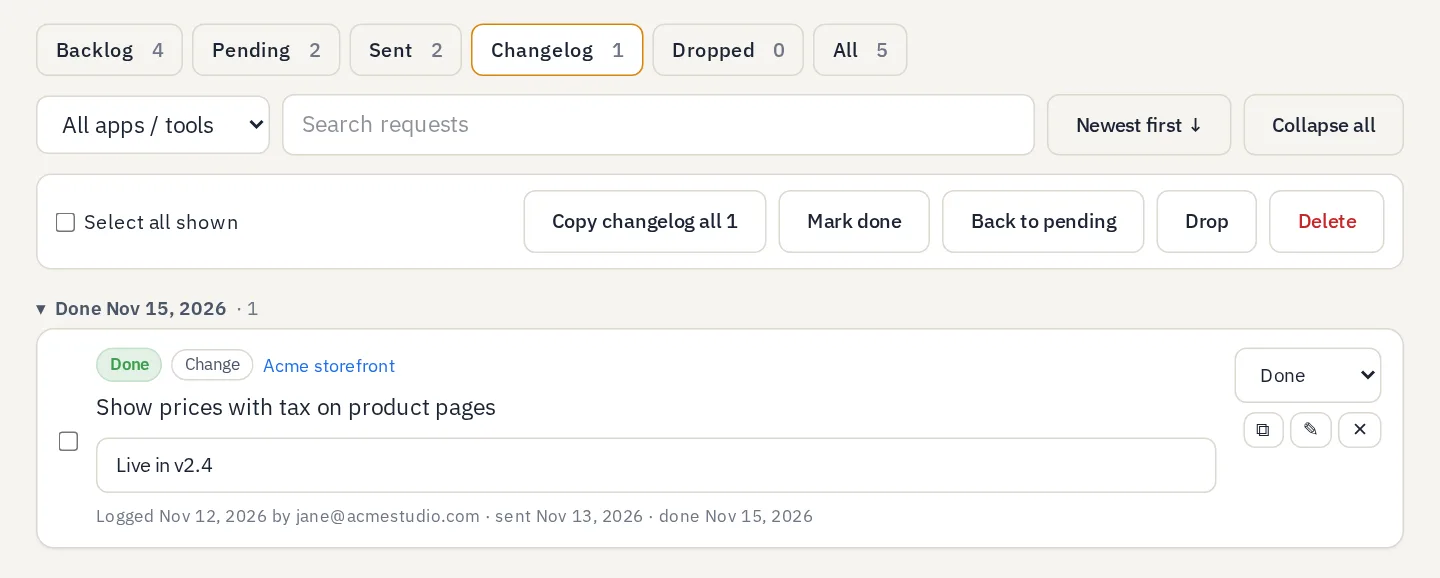
Tap the screenshot to open it full size.
- Changelog. Everything marked done, filed by the date it was finished.
- Copy changelog. A dated list of what changed — ready to share as release notes.
- Done. Finished and live.
- Resolution note. Optional: the version, what was changed, or who did it.
8Settings & access
Settings is where you let a technical admin — usually your agency — look after your whole workspace. Use it for people you trust with everything; for anyone else, share specific credentials instead.
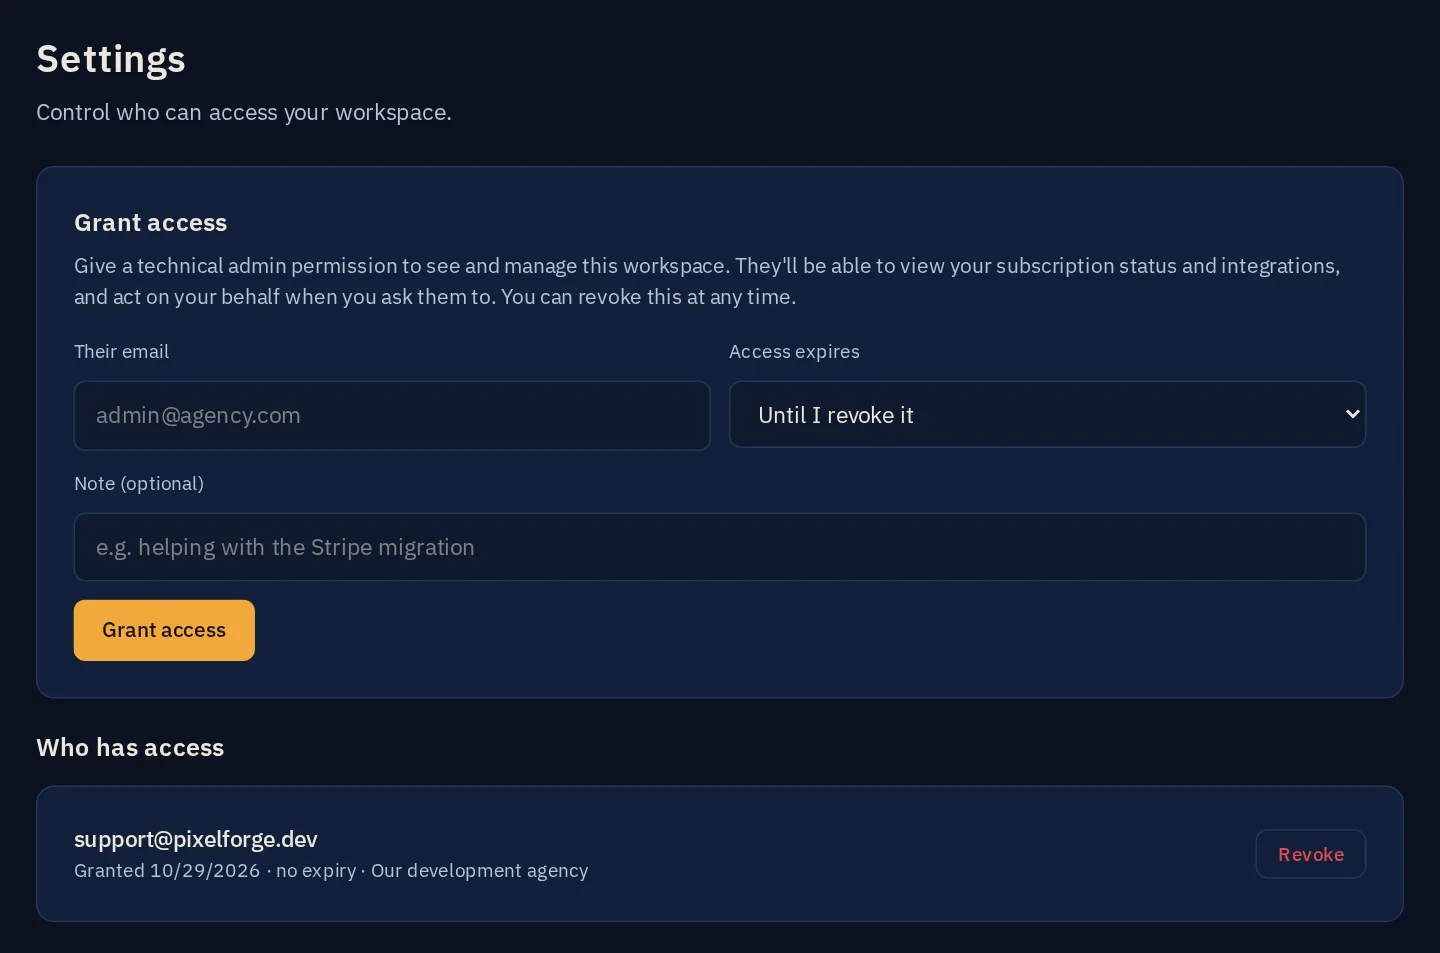
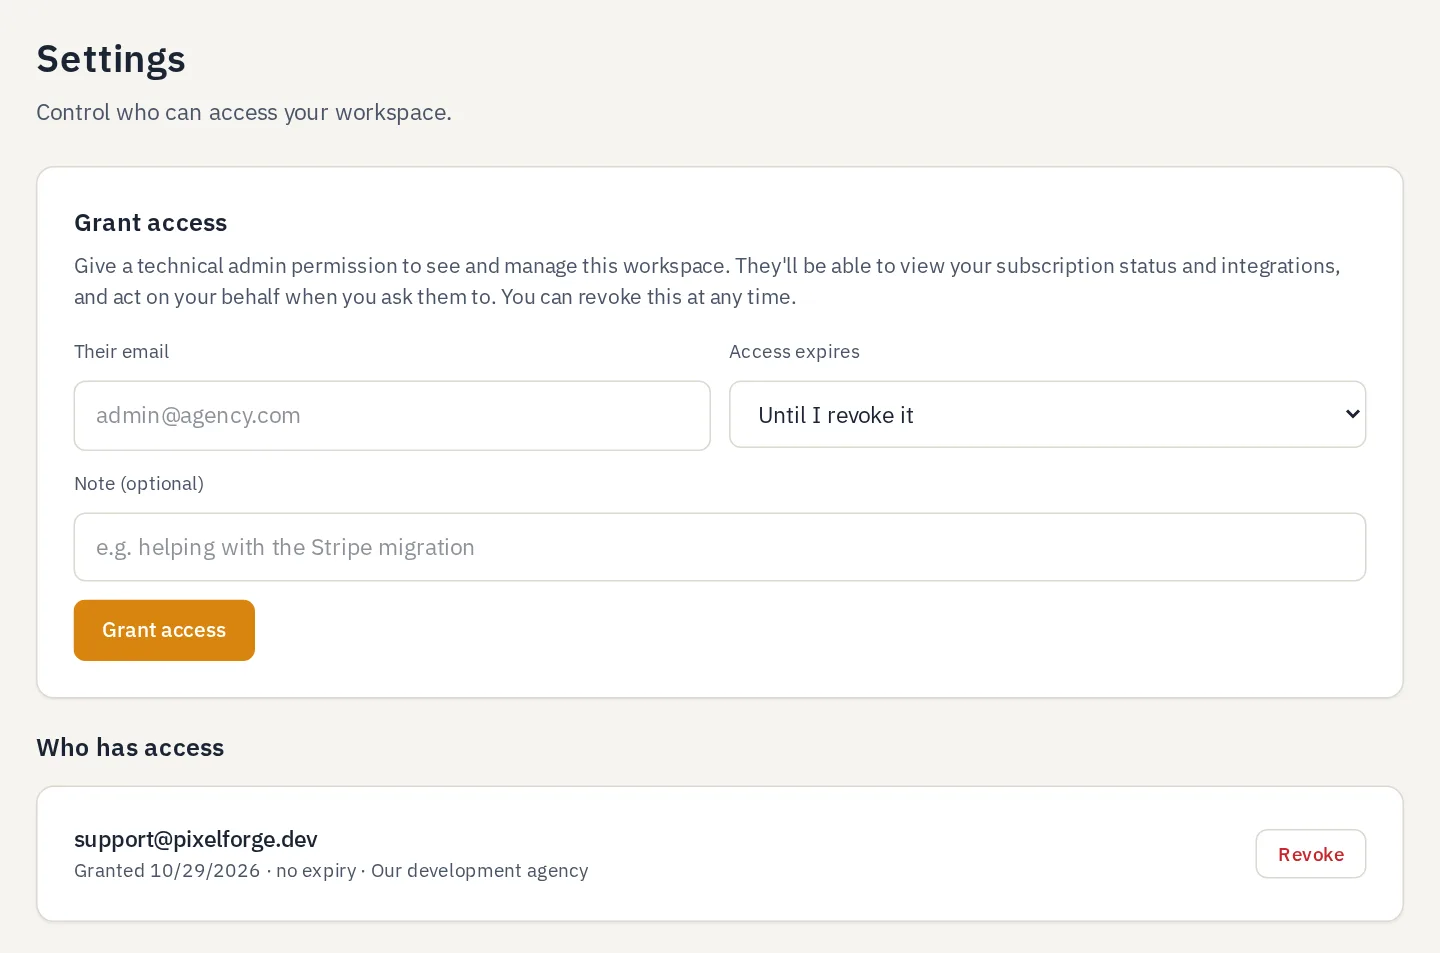
Tap the screenshot to open it full size.
- Their email. The technical admin's UnyBase login.
- Access expires. A set number of days, or until you revoke it.
- Grant access. They're emailed and can see your workspace straight away.
- Who has access. Everyone you've granted, with Revoke to end it instantly.
9Your plan & billing
10Emails you'll get
You can reply to any of these emails — replies reach a person at UnyBase.
| When | |
|---|---|
| Confirm your email | Right after you sign up (sent once more after a day if you haven't confirmed). |
| Finish setting up | 1, 3 and 7 days after sign-up, only if checkout isn't finished. |
| Payment confirmed | When your first payment goes through, with first steps. |
| Credential expiring | 14, 7 and 1 days before a credential's expiry date. |
| Integration check failed | When a credential that was working stops working. |
| Domain / SSL renewal due | 30, 14, 7 and 1 days before. |
| Credentials shared with you | When someone shares their vault with you. |
| Trial started / ending / ended | If you're given a trial: at the start, 3 and 1 days before it ends, and when it ends. |
| Payment didn't go through | If a payment fails. Nothing changes yet. |
| Automations paused / back on | Only if your account is paused for non-payment, and when it's restored. |
| Reset your password | When you press Forgot password? |